A coffee spill is easier to tackle when you separate two questions: what the fabric can tolerate, and what the stain needs. Start with the care label. This routine is for washable clothing, not upholstery, carpets, leather, or a garment marked dry clean only.
Follow the garment label, use a compatible detergent or stain treatment as directed, then inspect the stain after washing. Repeat treatment before machine drying if the mark remains.
Go straight to the stepsBefore you begin
Spot-test a treatment on a hidden area if its label calls for it or colorfastness is uncertain. Do not combine cleaning chemicals.
What you’ll need
- The garment’s care label
- A compatible laundry detergent or stain treatment
- A clean white cloth
- Access to the recommended wash method
Tools & supplies for this project
Affiliate disclosure: We may earn a commission when you buy through these Lowe’s links. How our links work.
Use what you already own. If you need supplies, compare these options with the requirements above and choose only the items your project needs.
Check Lowe’s for current price, availability and specifications.
Let’s do this
Step by step
- 01
Check the fabric instructions
Read washing, bleaching, and drying directions. Set aside dry-clean-only items for professional advice rather than following a machine-wash routine.
- 02
Lift excess liquid gently
Use a clean cloth to absorb the fresh spill without spreading it across a larger area. Work on a surface that you do not mind protecting with an old towel.
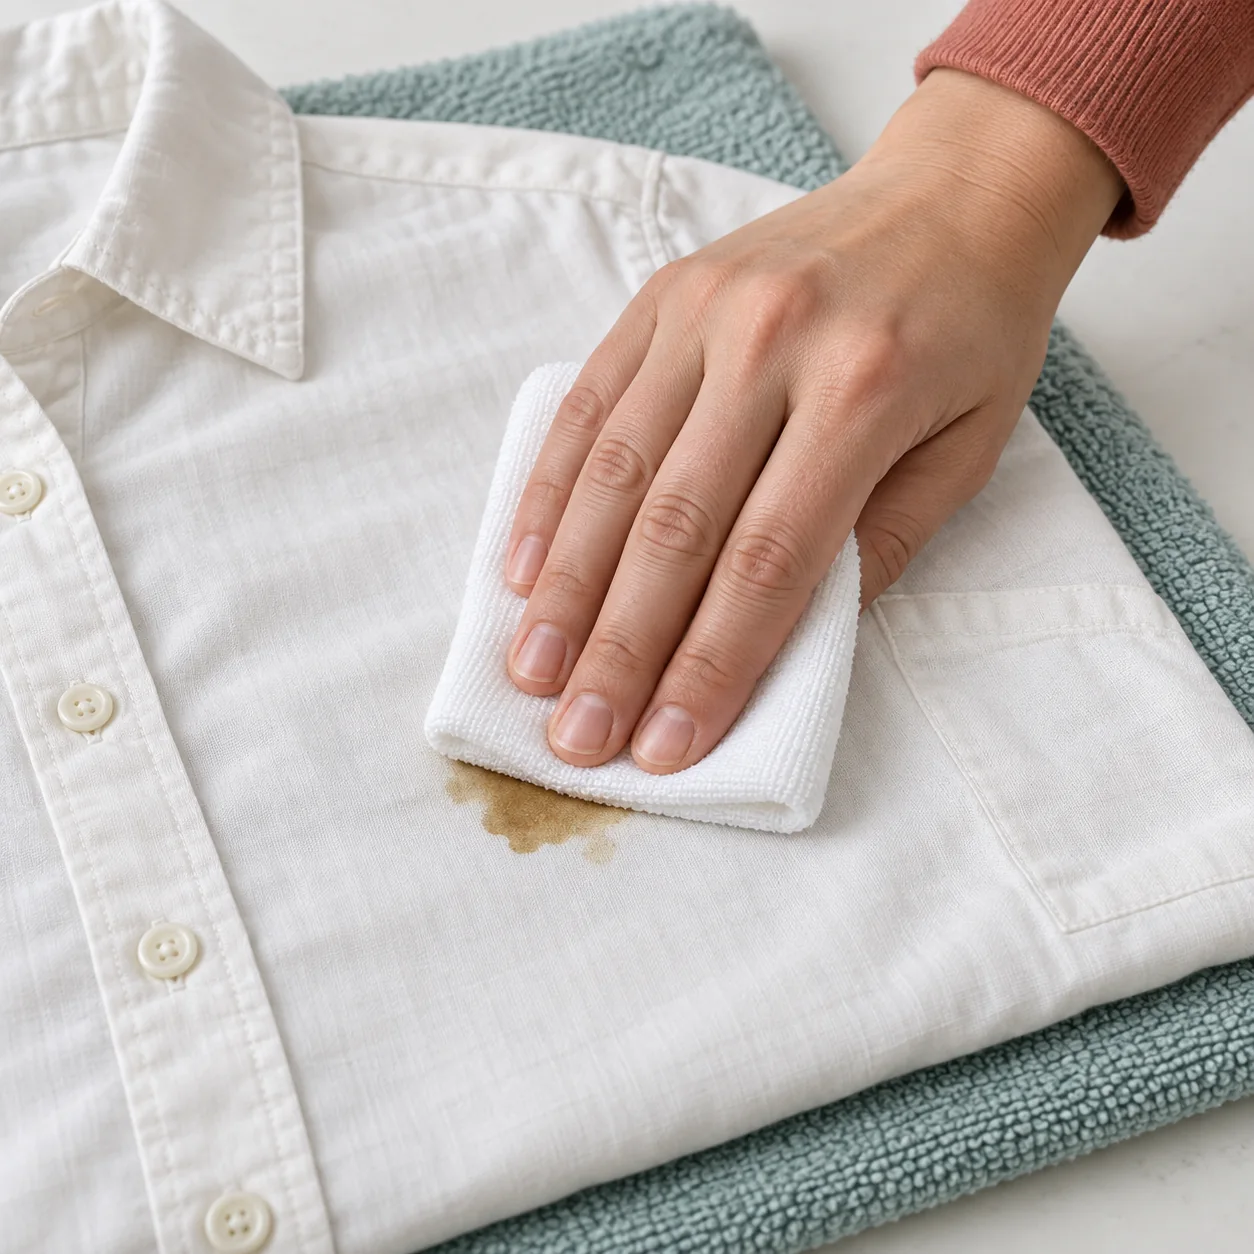
Press and lift with a clean section of cloth. Avoid rubbing the spill into a larger area.Open full-size image - 03
Apply a suitable treatment
Use the detergent or stain-remover directions for the fabric, including any pretreatment time. Liquid detergent can be used for pretreatment when its own label permits it.
- 04
Wash according to the label
Use the garment’s permitted cycle and the laundry product’s dose. Do not add extra products simply because the stain looks stubborn.
- 05
Inspect before drying
Look for the remaining mark in good light. If it persists, repeat an appropriate treatment before using a dryer, because drying can set a stain.
Optional supplies on Amazon
Affiliate disclosure: As an Amazon Associate I earn from qualifying purchases. How our links work.
Use what you already have. These links open Amazon search results so you can compare suitable supplies; they are not individual product reviews.
Treat the actual spill, not a generic stain
Note whether the drink contained milk, cream, or syrup. Mention that if you ask a cleaner for help. Also tell them what you already applied; starting a second treatment without that information makes the process harder to assess.
For a white shirt, inspect seams and the edge of the spill, where a faint ring may remain. For a patterned shirt, compare the treated area with an untouched area so you do not mistake dye loss for successful stain removal.
Build a small, useful stain kit
Keep a clean white cloth and one fabric-appropriate treatment near the laundry area. Read the product directions before you need them in a rush. A familiar product used correctly is more useful than a shelf of improvised combinations. Keep laundry chemicals stored safely away from children and pets.
A quick final check
- The treatment suits the garment.
- The area was checked after washing.
- The garment was not machine-dried with a visible stain.
Common questions & sticking points
Will the stain always come out?
No. Fabric, age of the stain, previous drying, and the drink’s ingredients all affect the outcome.
Can I use this method on a sofa?
No. Upholstery needs its own care instructions and a suitable cleaning method.
Sources & further reading Optional
References used to check this guide. Follow your product’s own safety instructions where its design differs.
Last source check: September 21, 2026