Grout can collect a dark film even when the tile beside it looks clean. Work out whether you are seeing removable soil, staining, damaged grout or moisture before reaching for a stronger product. A small test patch protects the finish and tells you whether a gentle method is making useful progress.
Identify the tile and grout, remove loose dirt, test a compatible cleaner, brush a small section gently, then remove dirty liquid, rinse as directed and dry.
Go straight to the stepsBefore you begin
This routine is for sound, accessible tile and grout. Natural stone, metal accents and specialty finishes need their own care instructions. Do not mix products, use a metal wire brush, or treat loose grout and recurring dampness as an ordinary cleaning problem.
What you’ll need
- Tile and grout care information
- A cleaner approved for the tile, grout and any sealer
- A soft nylon brush or suitable nonabrasive pad
- Clean cloths, rinse water and a bucket
- Gloves and any other protection required by the label
Tools & supplies for this project
Affiliate disclosure: We may earn a commission when you buy through these Lowe’s links. How our links work.
Use what you already own. If you need supplies, compare these options with the requirements above and choose only the items your project needs.
Check Lowe’s for current price, availability and specifications.
Let’s do this
Step by step
- 01
Identify the surface and inspect the joints
Check the tile type, grout and any sealer from installation records or product information. Look for cracks, missing material, loose tile or persistent damp patches. Stop if brushing would dislodge grout or the problem suggests a leak. An acid-safe ceramic tile does not make nearby stone or grout acid-safe.
- 02
Remove loose grit first
Sweep or use a vacuum attachment suitable for the floor so sand is not dragged across the finish. Move small objects and choose a section you can clean and rinse without stepping across it. Keep a clear route out of the area while the floor is wet.
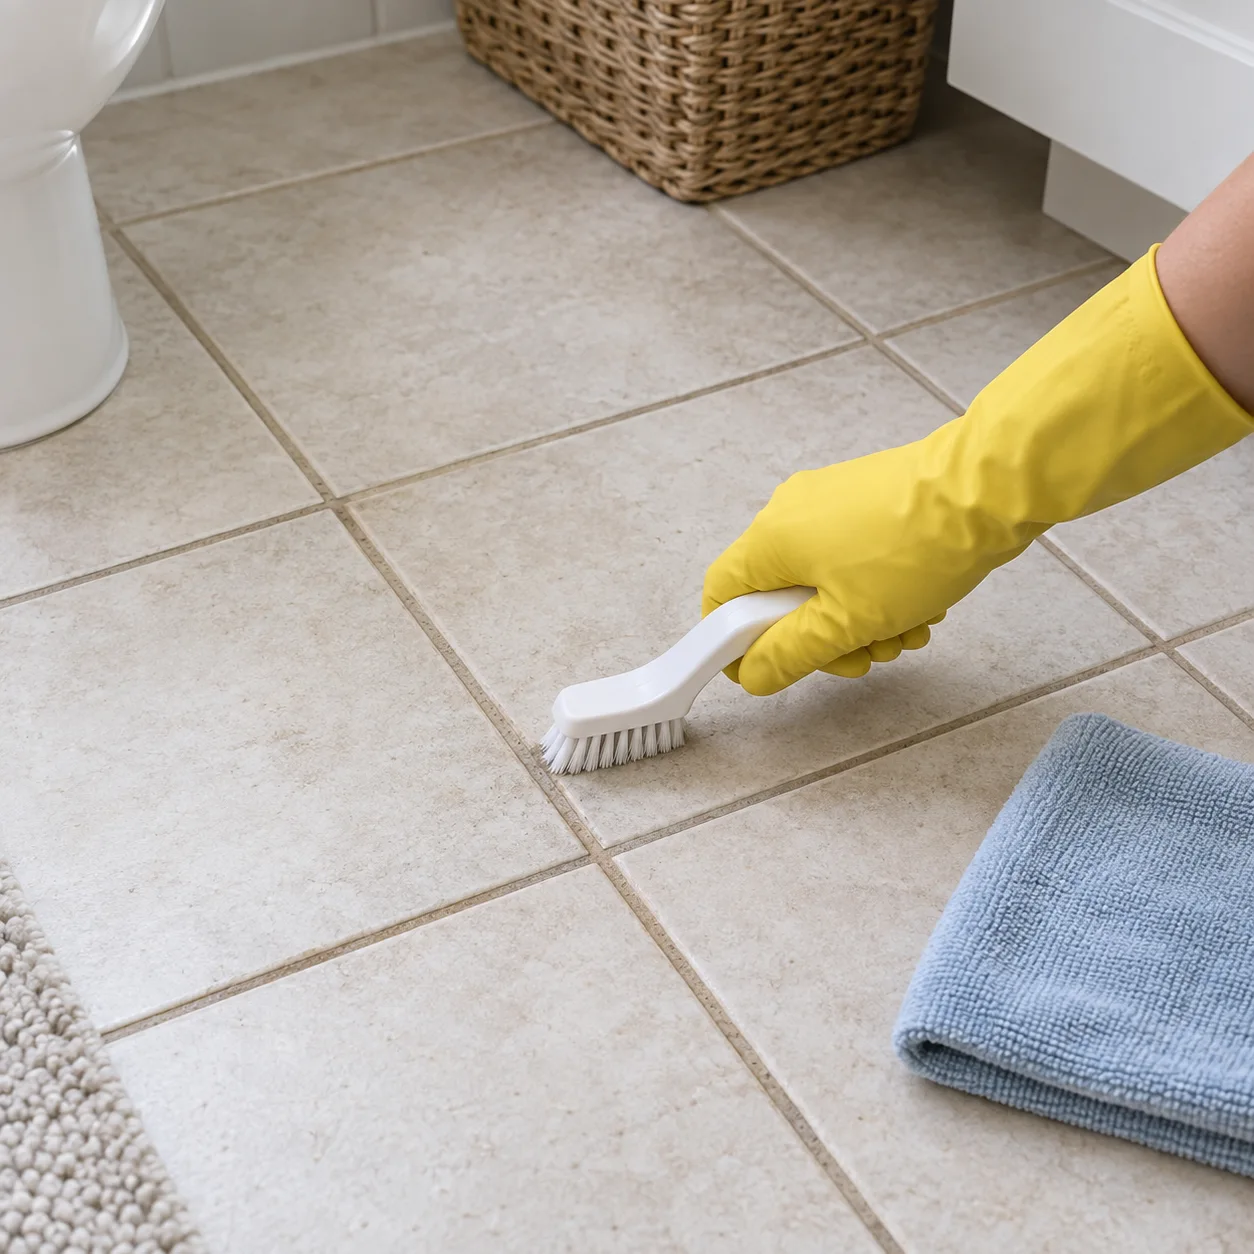
Use a brush compatible with the grout and tile. Patch-test the approved cleaner first.Open full-size image - 03
Prepare and test the cleaner
Choose a product approved for all surfaces in the area. Read its dilution, protection, waiting time and rinsing instructions. Test in an inconspicuous spot and check the dry result. Use the specified concentration; a stronger mixture is not automatically more effective or safer.
- 04
Work a small grout section
Apply according to the label and allow the stated dwell time without letting the solution dry. Agitate gently with a compatible nylon brush or pad. Keep the action along the joint rather than grinding hard against tile edges. Stop if the finish dulls or the grout starts to crumble.
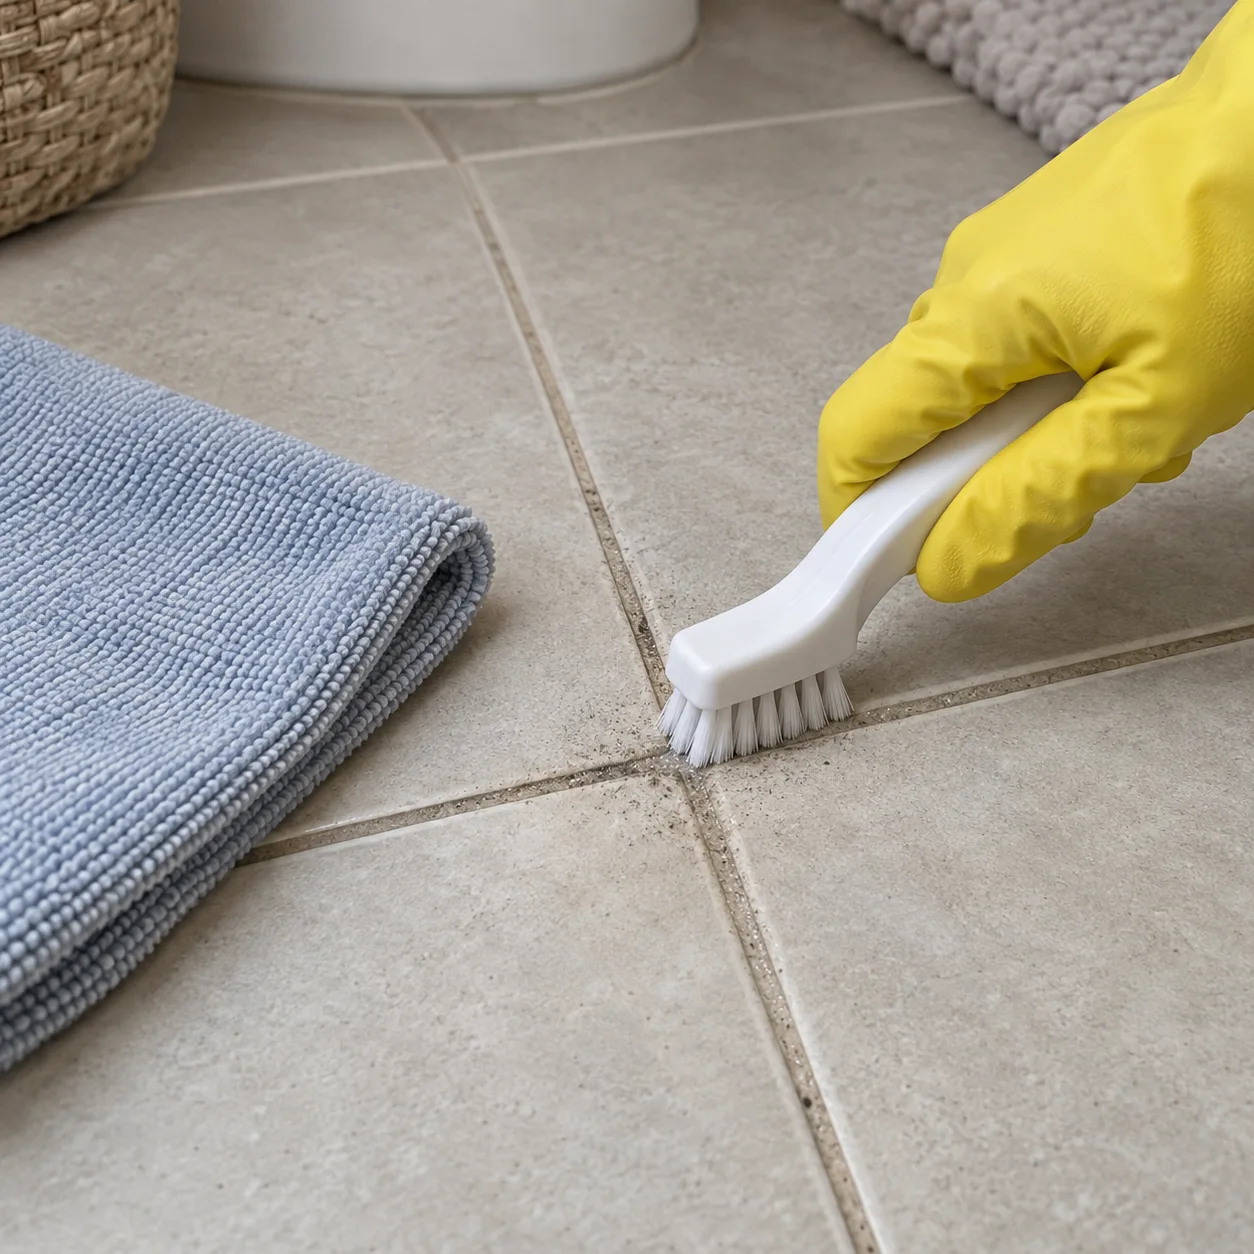
Work a small area and lift away dirty liquid before it dries.Open full-size image - 05
Lift the dirty solution and rinse
Remove loosened soil with a clean cloth or suitable mop rather than spreading it into the next section. Change dirty water and cloth faces. Rinse as the product and surface instructions require. Cleaning liquid left behind can form a new film that makes the floor look dirty again.
- 06
Dry and judge the result
Remove excess water and let the area dry before comparing color; wet grout naturally looks darker. Check under the same light as the original patch. If sound grout remains stained, ask about a grout-specific restoration method instead of repeating harsh cleaning or painting over a moisture problem.
Optional supplies on Amazon
Affiliate disclosure: As an Amazon Associate I earn from qualifying purchases. How our links work.
Use what you already have. These links open Amazon search results so you can compare suitable supplies; they are not individual product reviews.
Sealer is not a substitute for cleaning
A sealed joint can still collect surface dirt. Whether to reseal depends on the grout system and sealer instructions: some products need it, while others do not. Do not add an unspecified coating to make an already dirty line look better; identify and clean the material first.
Use one test section as your reference
Photograph the dry area before cleaning and again under similar lighting afterward. Note the cleaner, dilution and time. This simple comparison helps you avoid repeatedly scrubbing a permanent stain or mistaking a wet patch for a failed clean. Keep the record with the tile product details.
A quick final check
- The product is suitable for both tile and grout.
- Dirty liquid and cleaner residue have been removed.
- The floor is dry, and cracked or missing grout has been identified.
Common questions & sticking points
Is vinegar safe for every grout-cleaning job?
No. Acid can damage some stone, grout and finishes. Choose a product explicitly suitable for the complete installation instead of assuming a household ingredient is harmless.
Why does the grout look dark immediately after cleaning?
Moisture often darkens grout temporarily. Let the section dry before judging its color. A patch that remains damp or repeatedly returns needs investigation for moisture or damage.
Should I use a wire brush for stubborn grout stains?
Use the brush or pad specified for the surface and cleaner. A metal wire brush can damage finishes and joints. More force does not turn a stain or deteriorated grout into removable soil.
Sources & further reading Optional
References used to check this guide. Follow your product’s own safety instructions where its design differs.
- Daltile: ceramic and porcelain care
- Custom Building Products: neutral grout and tile cleaner instructions
- Daltile: selecting care for different tile materials
- Marazzi: tile, grout and stone maintenance