The replacement is much easier when the new faucet fits the existing sink holes and the shutoff valves work. This guide covers an ordinary sink-mounted kitchen faucet with accessible connections. Wall-mounted fixtures, shower valves, damaged pipework and new plumbing routes need a different plan.
Choose a compatible faucet, shut off and verify both supplies, disconnect and remove the old unit, mount the replacement, reconnect as instructed, then flush and check for leaks.
Go straight to the stepsBefore you begin
Shut off power to electrical outlets and equipment in the under-sink work area before plumbing work. Confirm the hot and cold water supplies stop before undoing any line. If a valve leaks, will not turn or fails to isolate, stop and have it serviced; do not force old plumbing.
What you’ll need
- Compatible faucet and its installation instructions
- Required gasket, mounting kit and approved supply connectors
- Adjustable wrenches and a basin wrench or supplied mounting tool
- Bucket, towels and flashlight
- Safety glasses
Tools & supplies for this project
Affiliate disclosure: We may earn a commission when you buy through these Lowe’s links. How our links work.
Use what you already own. If you need supplies, compare these options with the requirements above and choose only the items your project needs.
Check Lowe’s for current price, availability and specifications.
Let’s do this
Step by step
- 01
Check the fit before dismantling
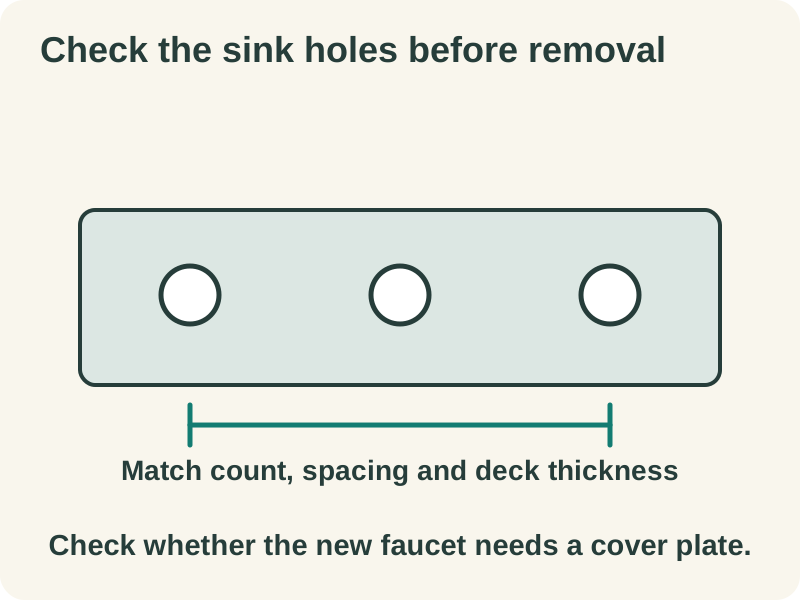
Count the sink’s holes from below and check their spacing, deck thickness and rear handle clearance against the new faucet. Confirm whether an escutcheon plate is needed and included. Check the required connector sizes and hose reach. Keep the exact installation sheet beside the parts.
Open full-size image - 02
Clear the cabinet and isolate supplies
Remove stored items and place a bucket and towels beneath the connections. With the work-area electrical supply isolated, close both water shutoffs. Open the faucet through hot and cold positions to release pressure and confirm flow stops. Photograph and label the supply connections before removal.
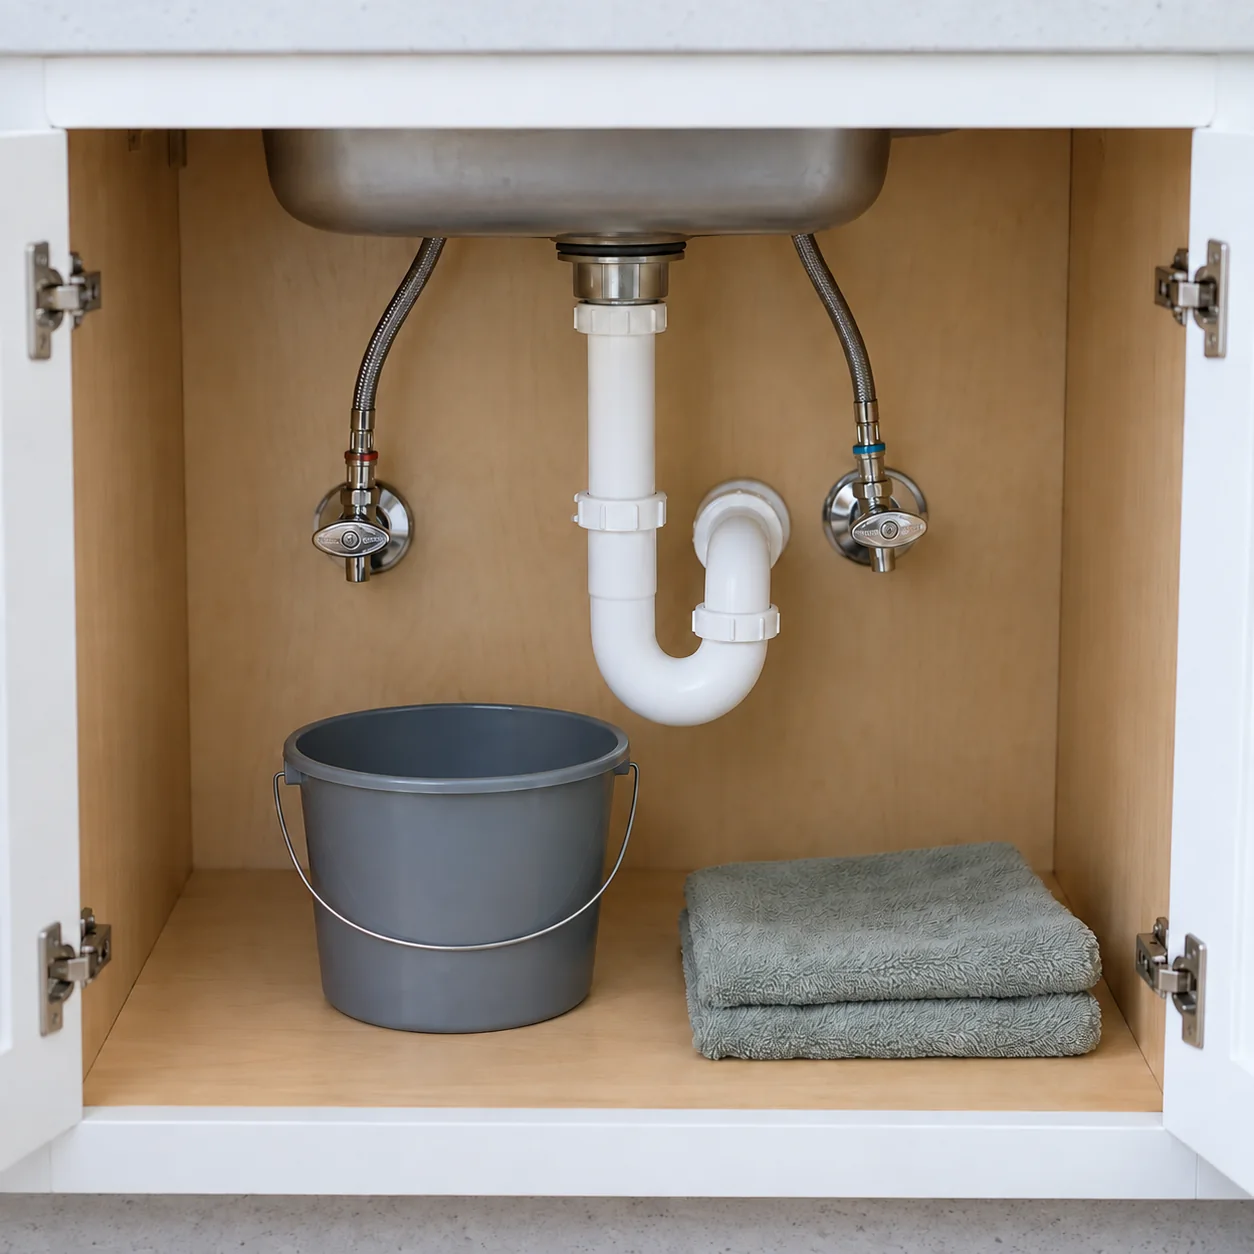
Clear space and prepare for residual water before disconnecting anything. Isolate the water and work-area electrical supply first.Open full-size image - 03
Disconnect the old supply lines
Catch residual water in the bucket. Loosen the supply nuts using the correct wrench while supporting the valve or fitting so house piping does not twist. Disconnect a separate sprayer or quick connector according to its instructions. Stop for seized fittings rather than bending the pipe.
- 04
Remove the mounting hardware
Support the faucet above the sink while undoing its retaining nut or bracket underneath. A basin wrench or the maker’s mounting tool can help in a tight space. Lift out the freed faucet and remove old sealant using a method safe for the sink or countertop.
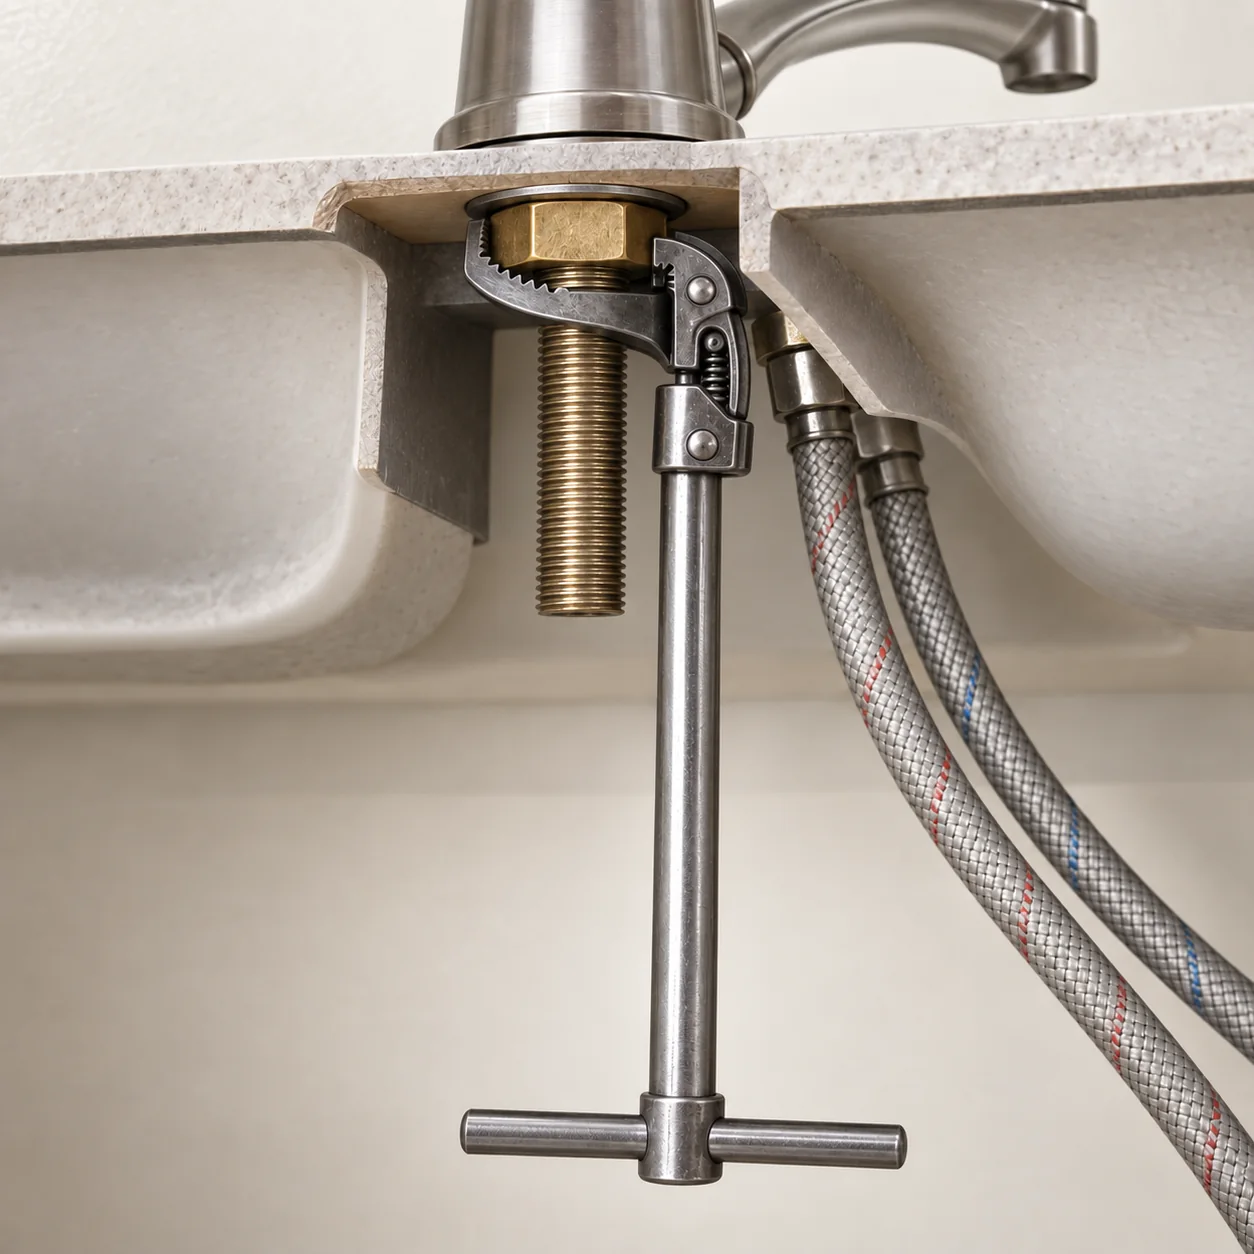
The pivoting head reaches a retaining nut in a tight space. Use the tool and removal method suited to your faucet.Open full-size image - 05
Position and secure the new faucet
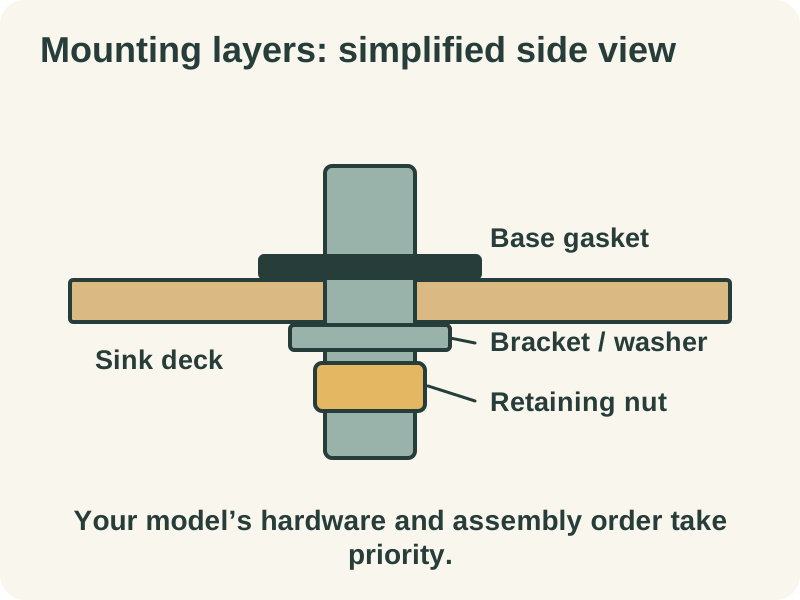
Fit the supplied gasket and any required deck plate in the order shown in the manual. Feed the hoses and shank through the correct hole. Install the underside washer, bracket and nut, align the faucet, then tighten as directed. Do not pinch hoses or overtighten against the sink.
Open full-size image - 06
Connect hot, cold and the spray hose
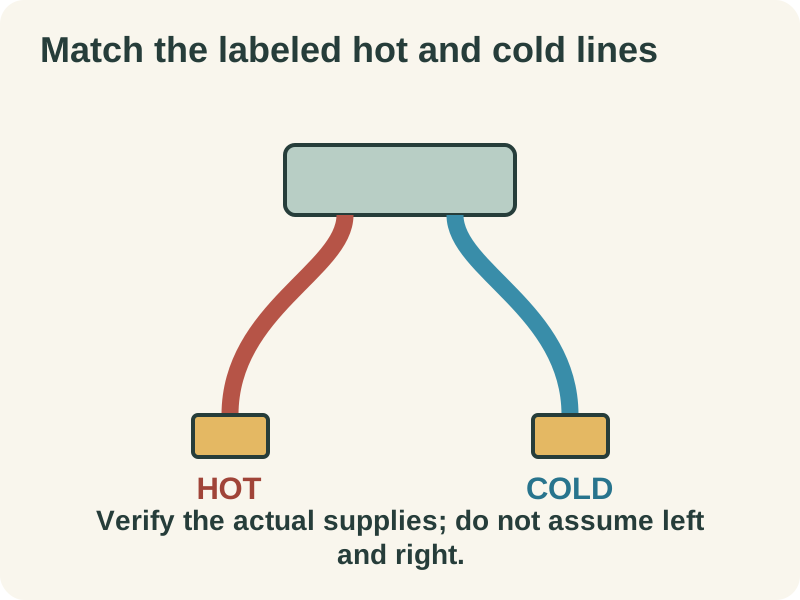
Match the faucet’s labeled hot and cold hoses to the verified supplies. Start threaded connections by hand and use the specified tightening method. Do not add tape to compression connections. Route hoses without kinks and secure any pull-down hose connector and weight as the manual shows.
Open full-size image - 07
Flush using the model’s sequence
Some faucets require flushing before the spray hose is connected; others specify aerator or spray-head removal. Follow the exact sequence and direct discharge safely into the sink or bucket. Reassemble all parts as instructed before the final test. Do not run an open hose into the cabinet.
- 08
Test the faucet and inspect below
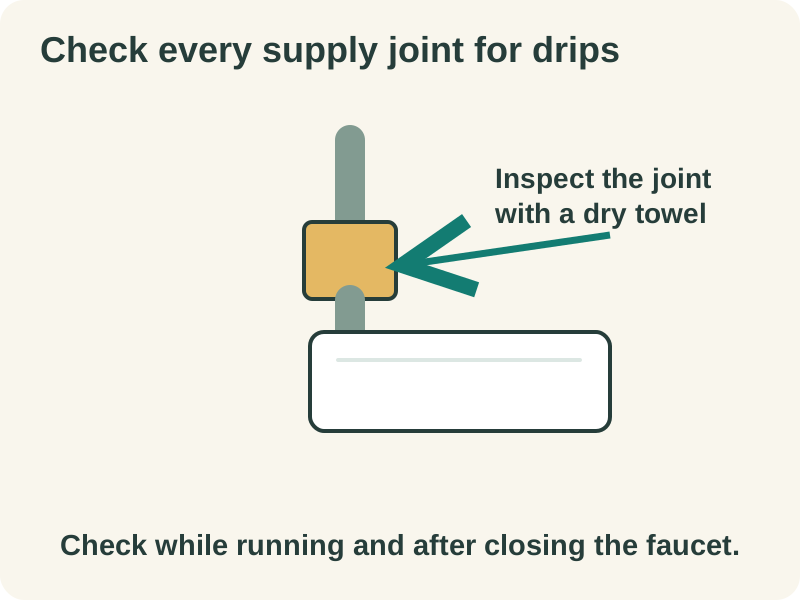
Open the supply valves slowly. Run hot, cold and the spray function, then close the faucet and inspect every connection with a dry towel. Check that the pull-down hose moves freely. If a joint drips, isolate the water and correct the connection; do not simply keep tightening it. Recheck after use.
Open full-size image
Optional supplies on Amazon
Affiliate disclosure: As an Amazon Associate I earn from qualifying purchases. How our links work.
Use what you already have. These links open Amazon search results so you can compare suitable supplies; they are not individual product reviews.
Keep the new parts organized
Lay the mounting pieces in the order shown on the installation sheet before crawling under the sink. Keep removed hardware in a different container so an old washer does not get mixed into the new assembly. A helper can hold the faucet straight while you secure it.
Sealant depends on the joint
A gasket under a faucet base, a compression supply fitting and a tapered pipe-thread joint seal in different ways. Follow the faucet and connector instructions rather than putting plumber’s tape or putty everywhere. Check sink-material restrictions before applying any sealant.
A quick final check
- Mounting and supply compatibility checked.
- Hot and cold correctly connected; hoses clear of obstructions.
- Manufacturer’s flush procedure completed.
- Connections dry with faucet running and closed; cabinet checked again after use.
Common questions & sticking points
Do new faucet supply connections always need plumber’s tape?
No. Compression fittings do not need PTFE tape, and many hoses seal with an internal washer. Use sealant only where the fitting’s instructions require it. Threaded appearance alone does not tell you how a joint seals.
Why is water flow weak immediately after a faucet replacement?
Check that both supplies are open, the hoses are not kinked and the manufacturer’s flush procedure was completed. Installation debris can restrict the aerator or spray head. Isolate the supplies before any disassembly that the manual requires.
Sources & further reading Optional
References used to check this guide. Follow your product’s own safety instructions where its design differs.
- Delta: Choosing a faucet for the sink layout
- The Home Depot: Preparation, isolation and old-faucet removal
- Delta: Single-handle mounting sequence
- Delta: Supply, spray-hose and flushing sequence
- Pfister: Supply connections and when not to use tape
- Delta: Flushing installation debris