Start with the model number, not a guess about the battery. Some smoke alarms have an accessible battery drawer; others must come off their bracket. A sealed ten-year unit is a different product and should not be pried open. This guide covers an alarm whose manual allows battery replacement.
Check the alarm manual, open its battery compartment, fit the specified replacement in the marked direction, close and reinstall the alarm, then test it.
Go straight to the stepsBefore you begin
If the alarm is sounding a fire or carbon-monoxide warning, leave the building and call emergency services from outside; do not treat that as a battery-change task. Use stable access. For a hardwired model that must be unplugged from its harness, switch off the correct breaker first and follow its manual. Do not touch house wiring.
What you’ll need
- Alarm model number and instructions
- Fresh battery of the approved type
- Stable stepladder if needed
- Flashlight
Tools & supplies for this project
Affiliate disclosure: We may earn a commission when you buy through these Lowe’s links. How our links work.
Use what you already own. If you need supplies, compare these options with the requirements above and choose only the items your project needs.
Check Lowe’s for current price, availability and specifications.
Let’s do this
Step by step
- 01
Identify the alarm and battery
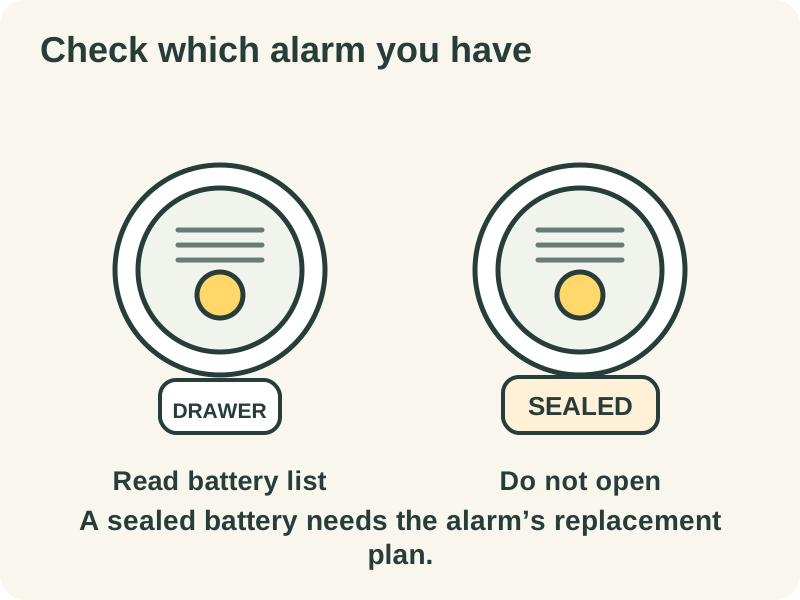
Find the model and manufacture or replacement date on its label. Read the battery instructions for that exact model. Match the specified size, chemistry and any approved-brand requirement; do not substitute a rechargeable battery unless permitted. If the alarm is at its replacement date or has a sealed battery, arrange replacement of the alarm instead.
Open full-size image - 02
Open the correct compartment
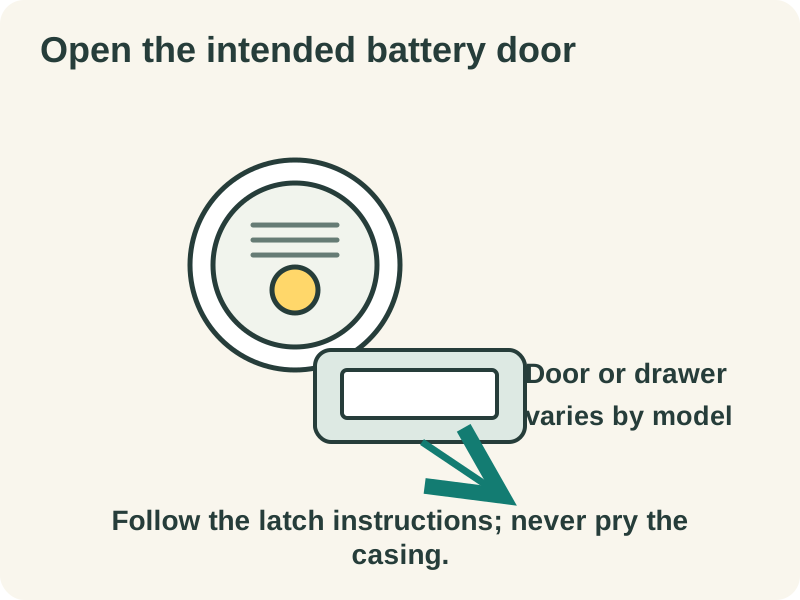
A front-loading drawer may open without removing the alarm. For a rear compartment, follow the marked removal direction and any locking-tab instructions. Support the alarm as it comes free. On a hardwired unit, isolate power before disconnecting a harness if required; stop if the manual or connector is unclear.
Open full-size image - 03
Remove the old battery and inspect
Note the terminal markings before lifting the battery out. Use the release method in the manual, pulling a snap connector by its connector body rather than its wires. Stop if there is battery leakage, corrosion, a broken clip or a damaged compartment. Do not scrape contacts or improvise a wire repair.
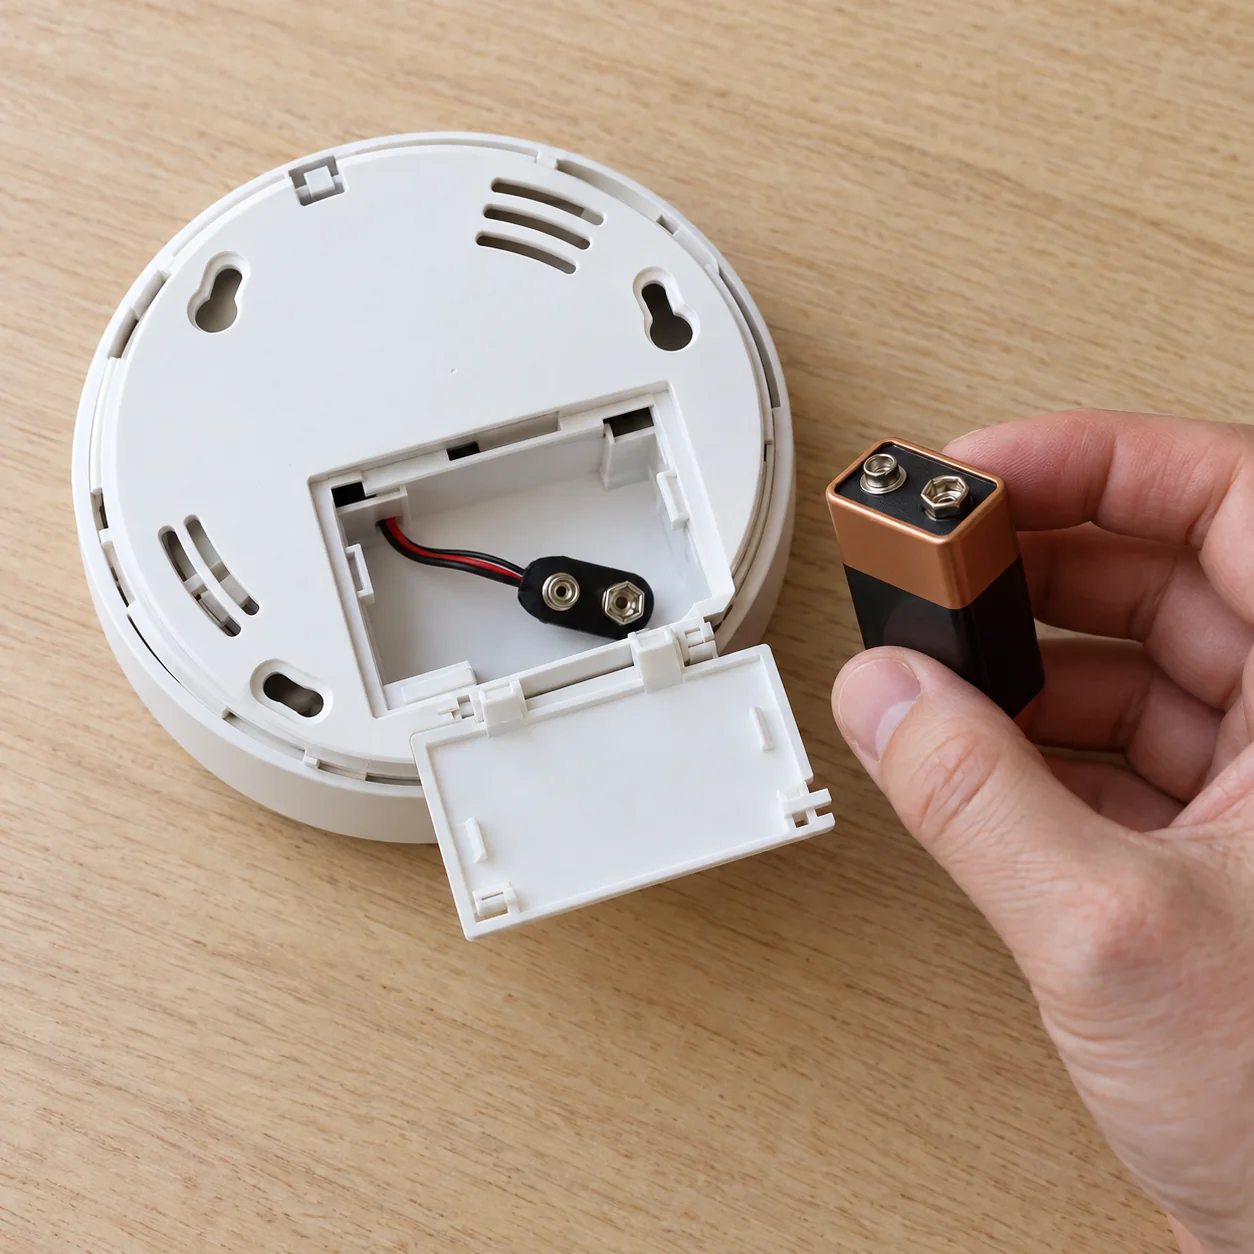
Inspect the compartment and connector. Stop for leakage, corrosion or damage; your model may use a different battery holder.Open full-size image - 04
Match the plus and minus marks
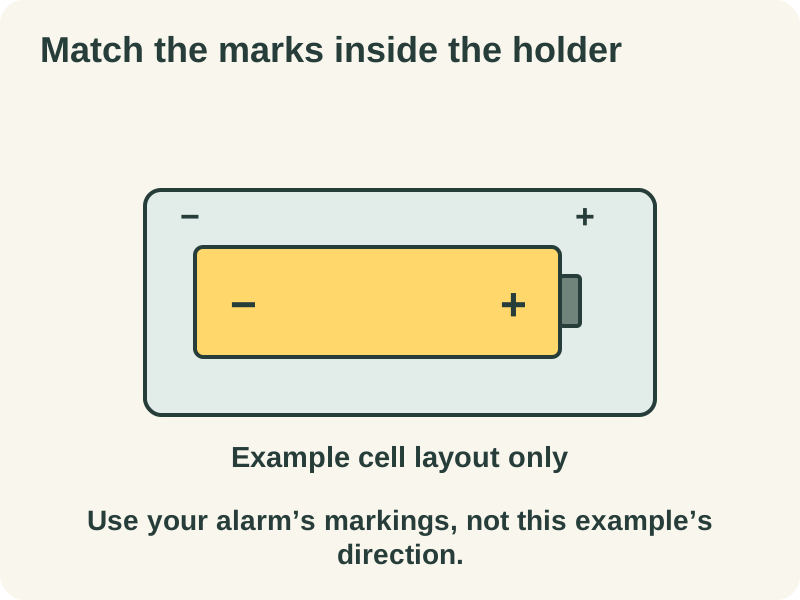
Fit the new battery according to the + and − symbols inside the compartment. Do not copy the direction from a different alarm or force a connector that does not seat. Make sure the battery sits completely in its intended holder, clear of the door and latch.
Open full-size image - 05
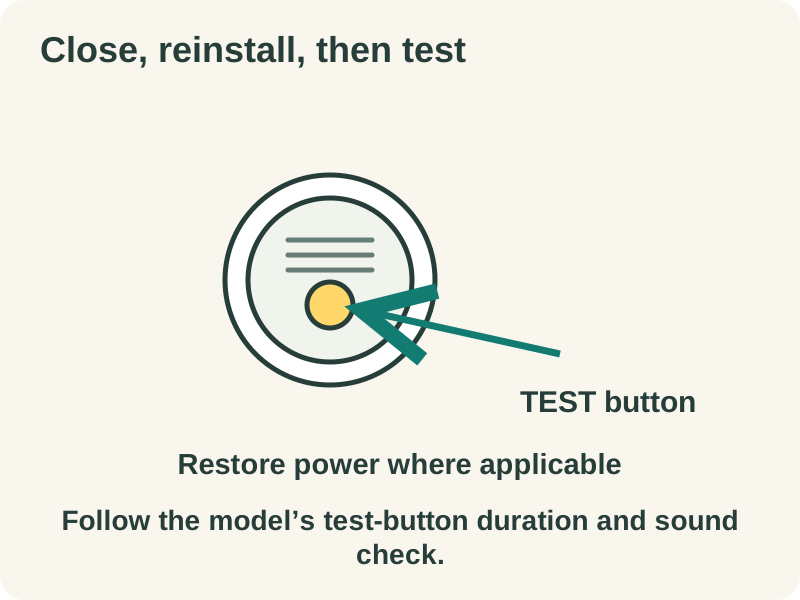
Close and reinstall the alarm
Close the drawer or cover normally. Some alarms intentionally prevent closure or mounting when the battery is missing or incorrectly fitted. Correct the fit instead of holding the door shut with tape. Reconnect and mount a hardwired unit as its instructions describe, then restore its power.
- 06
Test before finishing
Use the alarm’s test button for the duration specified in its manual. Confirm the expected sound and any required interconnected-alarm response. If it does not pass, troubleshoot or replace it promptly; do not leave it disabled. Note the change date and follow its ongoing testing schedule.
Open full-size image
Optional supplies on Amazon
Affiliate disclosure: As an Amazon Associate I earn from qualifying purchases. How our links work.
Use what you already have. These links open Amazon search results so you can compare suitable supplies; they are not individual product reviews.
A chirp does not always mean a weak battery
Check the sound pattern against the manual. A low-battery chirp, fault signal and end-of-life warning can need different responses. Record what the alarm actually does—how often, which light flashes and whether other alarms respond—before buying another battery.
Leave the job ready for next time
Save a photo of the model label and the approved battery specification with your household maintenance notes. Put the manual where everyone can find it. A short note saying which alarm was serviced is more useful than an unidentified loose battery on the counter.
A quick final check
- Correct replacement battery fitted to the marked polarity.
- Compartment and mounting bracket closed properly.
- Power restored where applicable and test passed.
- Model and service date recorded.
Common questions & sticking points
Why will the smoke alarm battery door not close?
Recheck the specified battery, its direction and whether it is fully seated. A battery-reminder feature may deliberately block the door. Follow the model’s instructions; do not force the latch or tape it closed.
What if my smoke alarm still chirps with a new battery?
Confirm the battery type, connection, door closure and alarm age. Read the model’s chirp-code and reset instructions; reset procedures differ. An end-of-life or malfunction signal needs the specified service or alarm replacement, not repeated battery swaps.
Sources & further reading Optional
References used to check this guide. Follow your product’s own safety instructions where its design differs.
- Kidde: Replaceable battery compartments and installation
- Kidde: Removing an alarm from its bracket
- Kidde: Intermittent beeps and model-dependent resets
- Kidde: Chirps, faults and end-of-life signals
- US Fire Administration: Alarm testing and replacement