Lubrication can help a sound door run more quietly. It cannot repair a broken spring, crooked track or frayed lifting cable. These steps cover light maintenance of accessible parts on a residential sectional door, following the door manufacturer’s lubrication chart.
Inspect the closed door, prevent powered movement, clean the tracks, and apply a small amount of approved lubricant only at the manufacturer’s specified moving joints. Clear the area and test afterward.
Go straight to the stepsBefore you begin
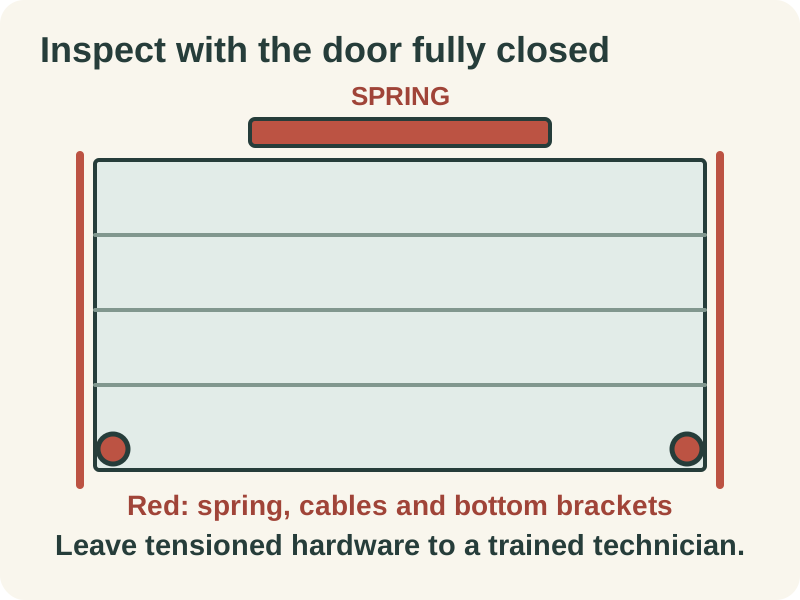
Leave springs, cables, cable drums and bottom brackets to a trained garage-door technician. Never loosen their fasteners. Stop if the door is crooked, a cable is frayed, a spring is broken or a roller is off its track. Do not pull the emergency release on a damaged or raised door.
What you’ll need
- Door and opener maintenance manuals
- Door-approved lubricant with a controlled applicator
- Clean rags
- Eye protection and label-specified protection
- Stable stepladder if required
Tools & supplies for this project
Affiliate disclosure: We may earn a commission when you buy through these Lowe’s links. How our links work.
Use what you already own. If you need supplies, compare these options with the requirements above and choose only the items your project needs.
Check Lowe’s for current price, availability and specifications.
Let’s do this
Step by step
- 01
Check the door before adding lubricant
With the door fully closed, inspect visible hinges, rollers and tracks from a safe position. Look for damage, missing parts and loose or crooked hardware without dismantling anything. If it binds, drops or has damaged lifting hardware, leave it closed and book service.
Open full-size image - 02
Prevent an unexpected start
Keep people, pets and remote controls away. Disconnect the opener’s power using its manual; a battery-backup model also needs its prescribed battery-isolation step. Leave the door connected to the opener. Do not open the motor housing or work on electrical wiring.
- 03
Wipe the tracks clean
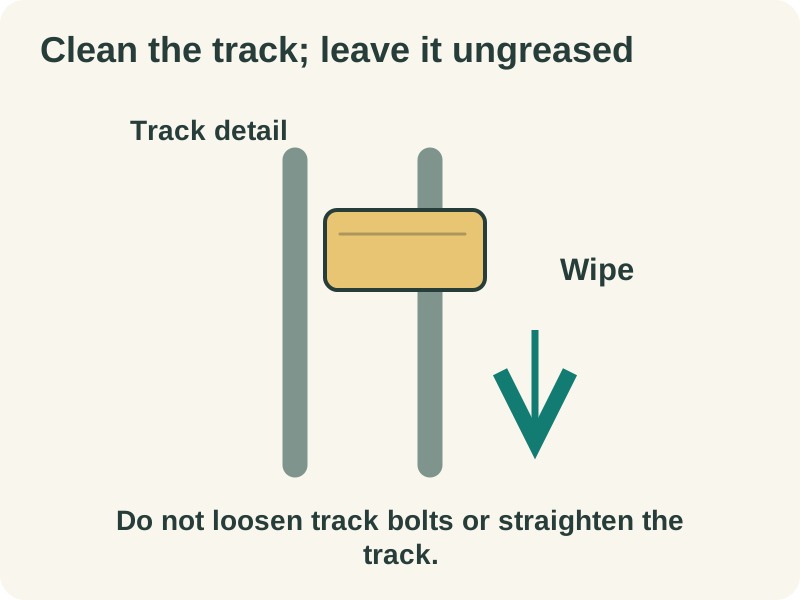
Remove loose dirt from accessible track surfaces using a cloth. Leave the running surfaces clean rather than coating them with grease. Do not loosen the track bolts, straighten a track with a hammer or reach into a pinch point. Let cleaned surfaces dry as appropriate.
Open full-size image - 04
Lubricate approved hinge pivots
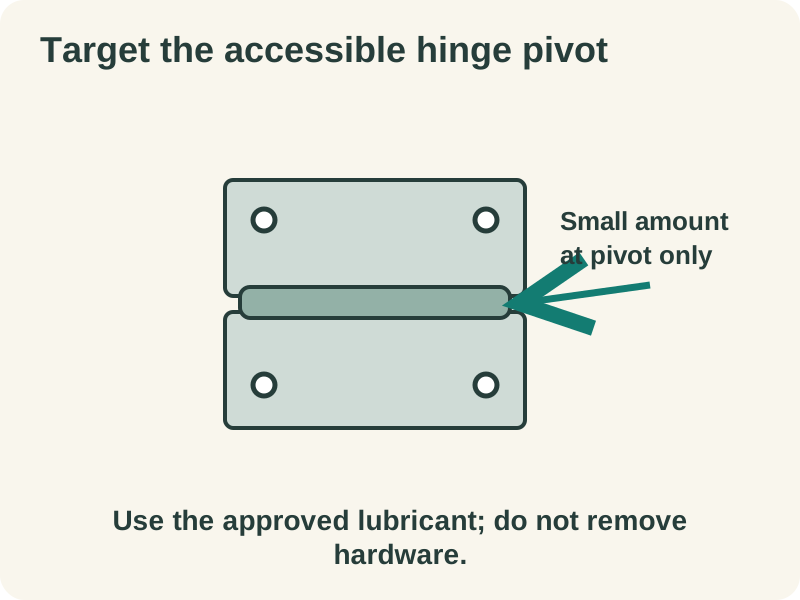
Identify the hinge pivot in the door’s maintenance diagram. Apply a small, controlled amount of its specified lubricant to the accessible moving joint, shielding adjacent surfaces with a rag. Wipe away surplus. Do not spray the whole panel or treat lubrication as a reason to remove hinge hardware.
Open full-size image - 05
Check the roller type
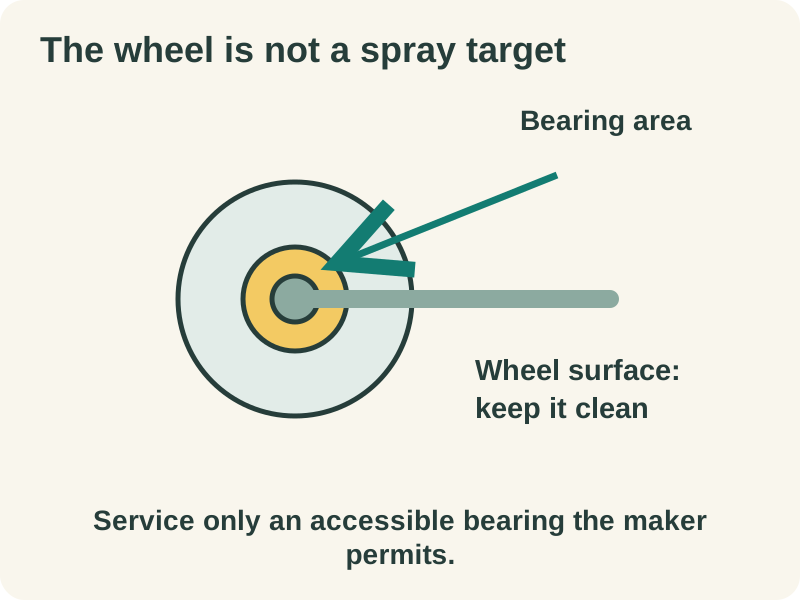
Lubricate an accessible, serviceable roller bearing only when its manufacturer permits it. Keep lubricant off the wheel’s running surface. Nylon wheels and sealed bearings may have different requirements from exposed metal bearings. If the bearing cannot be serviced without removing the roller or bracket, leave it for a technician.
Open full-size image - 06
Clear up and listen during a test
Remove rags, tools and the ladder from the door’s path. Restore power according to the opener manual. From the normal controls, observe a complete opening and closing cycle while everyone stays clear. Stop for binding, unusual movement or continuing grinding rather than adding more spray.
Optional supplies on Amazon
Affiliate disclosure: As an Amazon Associate I earn from qualifying purchases. How our links work.
Use what you already have. These links open Amazon search results so you can compare suitable supplies; they are not individual product reviews.
The opener has a separate maintenance schedule
A door-hinge lubricant is not automatically correct for the opener’s rail, belt, chain or screw. For example, Genie’s screw-drive guidance specifies a suitable white-lithium grease. Identify the opener model before servicing its drive; do not apply a general spray to every mechanism overhead.
When noise needs a repair
Persistent scraping, a jerky path or a door that sits unevenly warrants a hardware inspection. A technician can assess track alignment, rollers and spring balance. Keep a note of when the sound occurs—starting, mid-travel or closing—to help describe it without repeatedly operating a struggling door.
A quick final check
- No damaged lifting hardware or misaligned door found.
- Only approved lubrication points treated; excess wiped away.
- Tools and people clear before power is restored.
- Door observed through a normal cycle; unresolved noise referred for service.
Common questions & sticking points
Should garage-door tracks feel greasy after maintenance?
No. Keep the tracks clean; lubricate only the joints and bearings specified by the door manufacturer. Greasing the running channel is not a substitute for correcting a damaged or misaligned track.
Can I spray every nylon garage-door roller?
Check its design first. A nylon wheel is not itself a lubrication point, and a sealed bearing may not need service. Follow the roller maker’s directions for any accessible bearing; do not remove a tensioned bracket to reach it.
Sources & further reading Optional
References used to check this guide. Follow your product’s own safety instructions where its design differs.
- Clopay: Lubrication points and cleaning
- Clopay: Service and replacement boundaries
- Clopay: Garage-door safety checklist
- Genie: Door maintenance and safety
- Genie: Screw-drive lubrication differs from door care