An anchor that expands behind drywall will not necessarily pull back through its original hole. Start by looking at the collar and screw instead of prying harder. This routine covers common small wall fixings, not structural supports or the safe removal of a mounted television.
Remove the hanging item, identify the anchor design, then release it by the method that suits its grip behind the wall.
Go straight to the stepsBefore you begin
Support the hanging object before removing screws. Check for hidden wiring and plumbing. Older painted surfaces may contain lead; assess them before scraping or sanding.
What you’ll need
- Matching screwdriver
- Pliers if appropriate
- Small putty knife
- Drywall patching material and primer
- Eye protection
Let’s do this
Step by step
- 01
Unload and identify the fixing
Take down the object with help if needed. Remove its bracket and inspect the anchor. A large threaded body usually unscrews; a plain plastic sleeve expands; a toggle has hardware behind the board. Photograph an unfamiliar fixing and identify it before working further.
- 02
Back out a self-drilling anchor
Remove its center screw, then engage the anchor’s own drive recess with a manual screwdriver. Turn counterclockwise slowly. Keep the driver aligned so the collar does not chew a larger ring in the wall.
- 03
Ease out a simple plastic sleeve
Leave a matching screw partly engaged so there is something to grip. Protect the wall and ease the screw and sleeve outward with a suitable tool. Stop if the surface begins tearing; an expanded or different anchor may need another method.
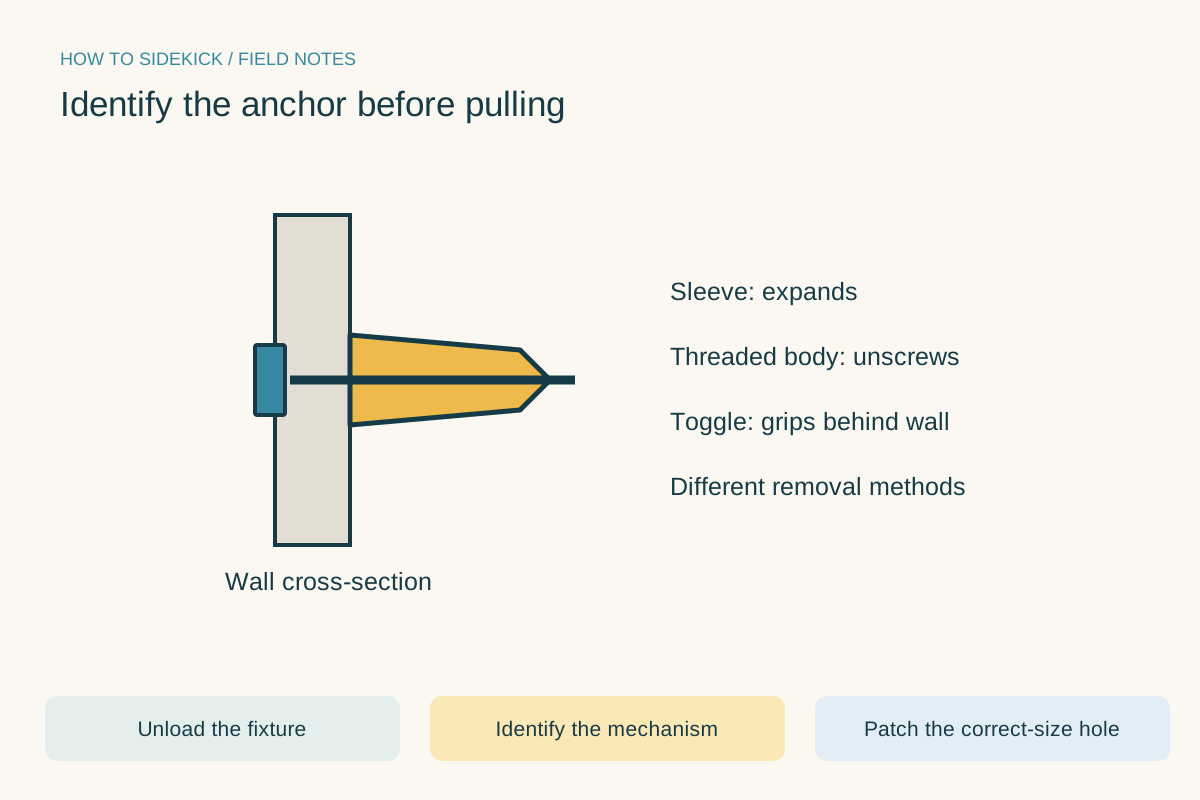
Identify the anchor before pulling. Use the instructions below for the full procedure.Open full-size image - 04
Treat metal and toggle anchors separately
Do not drag expanded metal wings through intact drywall. Follow the maker’s removal method; some hardware remains in the cavity after the screw is removed. If the collar will not release, identify the product or seek help rather than drilling an uncontrolled hole.
- 05
Patch the stable opening
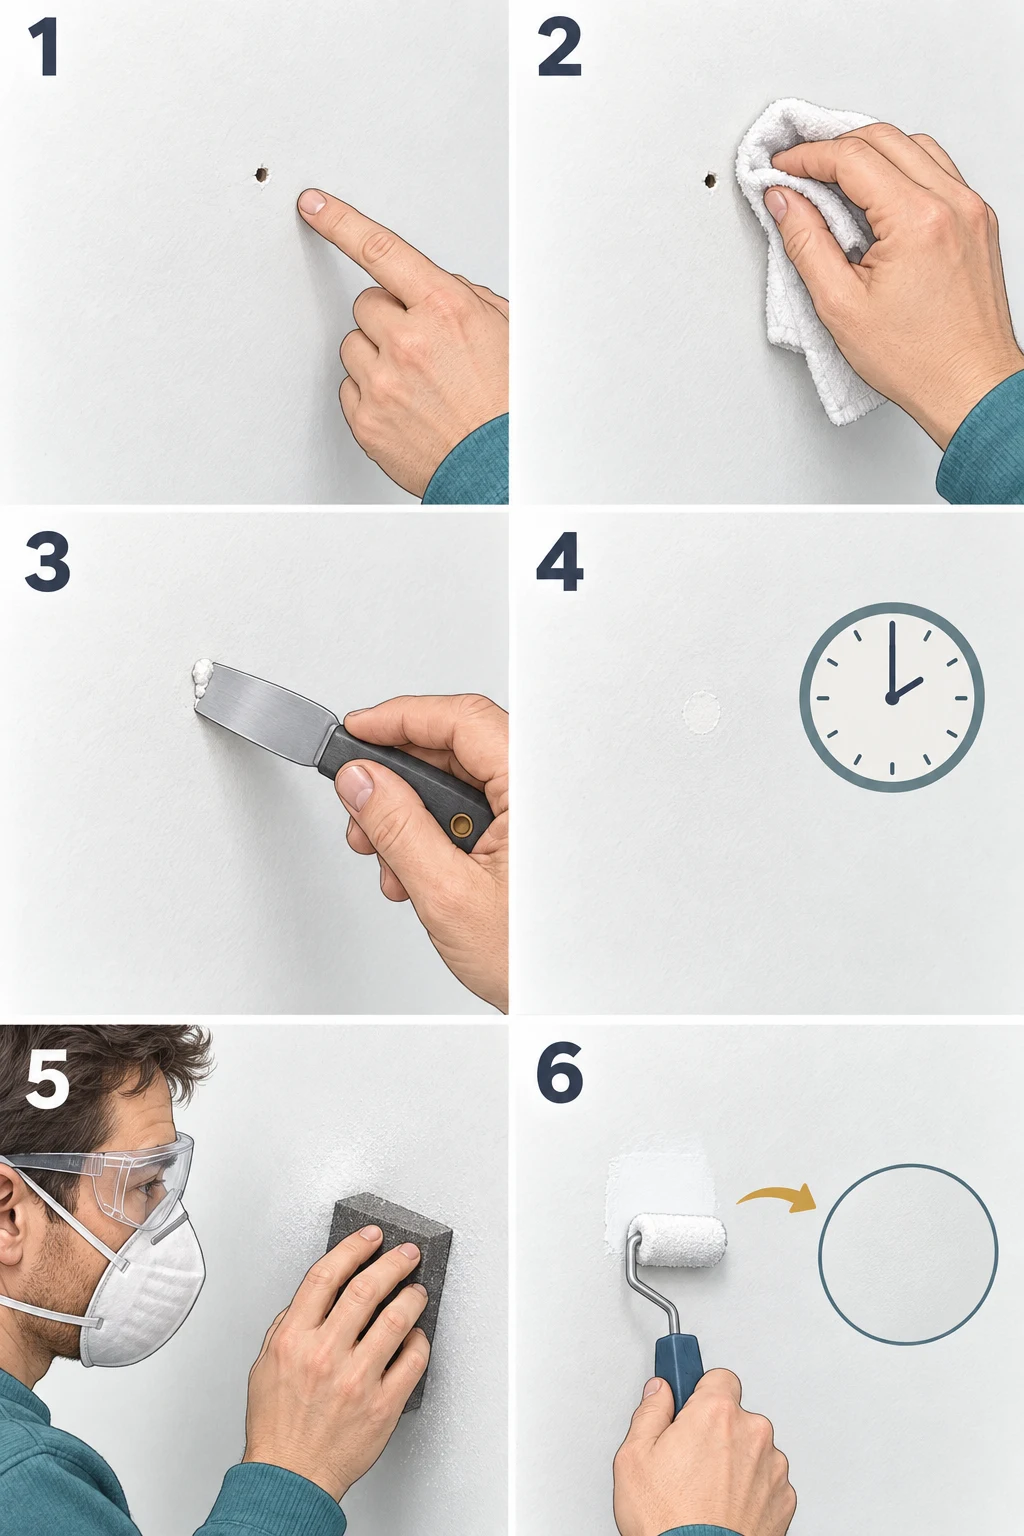
Remove loose fragments without enlarging sound board. Use a patching product suited to the hole size, follow its depth and drying instructions, then smooth, prime and repaint as needed. A larger damaged area needs a backed drywall repair rather than a thick plug of lightweight spackle.
Do not reuse the weak spot automatically
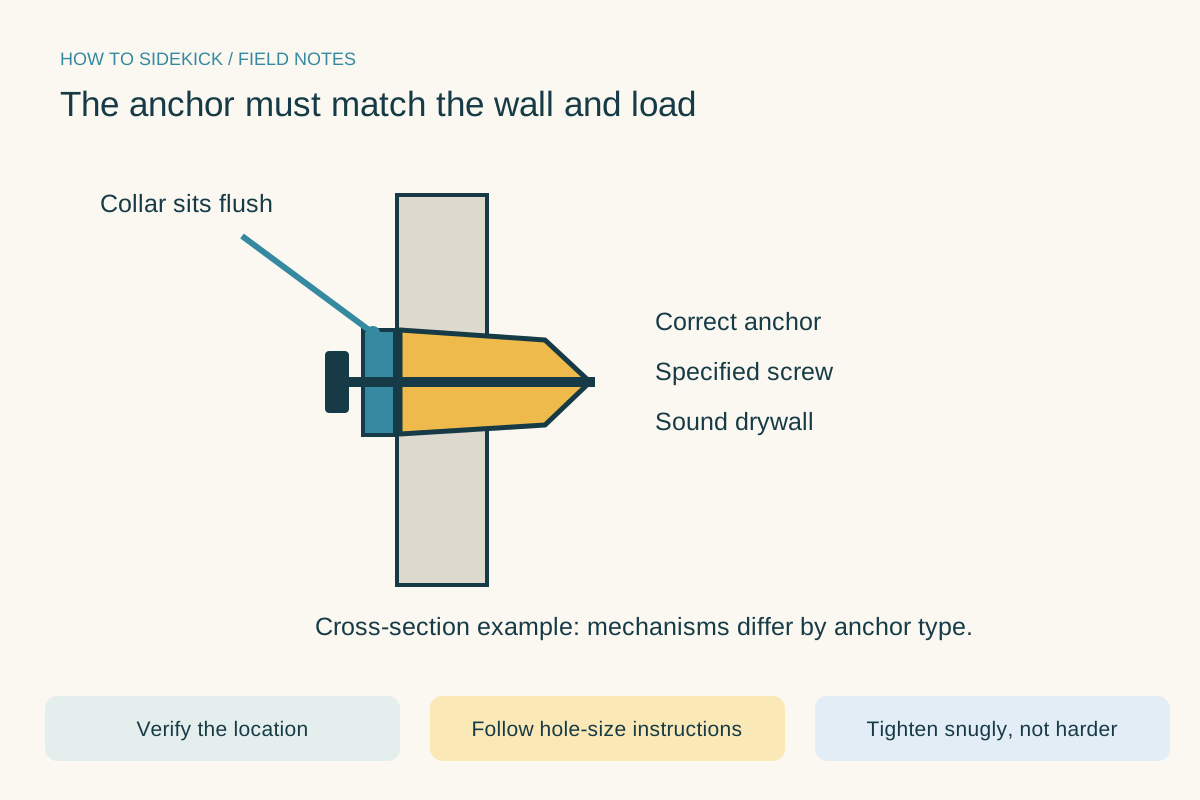
A cosmetic patch does not restore the original anchor’s rated holding strength. For another hanging item, select a sound fixing location or an appropriate structural repair. Follow the new hardware’s spacing and wall requirements.
A quick final check
- Object removed safely
- Anchor identified
- No uncontrolled pulling or drilling
- Hole repaired for its size
Common questions & sticking points
Can I push an anchor into the wall?
Only when appropriate for the design and the cavity is known to be clear. Do not hammer an unknown fixing deeper near possible services.
Can I reuse an old anchor?
Many anchors are intended for one installation. Follow the manufacturer’s instructions and replace distorted or damaged parts.
Sources & further reading Optional
References used to check this guide. Follow your product’s own safety instructions where its design differs.
Last source check: September 24, 2026