This is a narrow US-style example: replacing an ordinary mechanical single-pole switch that controls one light from one location. Smart switches, dimmers, three-way circuits, damaged wiring, and unidentified conductors need different instructions.
Confirm the correct replacement, isolate and verify the circuit, document the existing wiring, reconnect only identified conductors according to the device instructions, and refit the cover before restoring power.
Go straight to the stepsBefore you begin
Mains electricity can cause fatal shock or fire. ESFI recommends a qualified licensed electrician. Continue only if competent and permitted locally. A wall switch set to OFF does not isolate its wiring. Never work live.
What you’ll need
- Compatible listed single-pole switch and instructions
- Properly rated voltage tester you know how to use
- Appropriate insulated tools and torque tool
- A qualified electrician if the circuit is unfamiliar
Tools & supplies for this project
Affiliate disclosure: We may earn a commission when you buy through these Lowe’s links. How our links work.
Use what you already own. If you need supplies, compare these options with the requirements above and choose only the items your project needs.
Check Lowe’s for current price, availability and specifications.
Let’s do this
Step by step
- 01
Isolate the correct circuit
Turn off the supplying breaker, prevent someone from restoring it, and use independent lighting. Do not remove the service-panel cover.
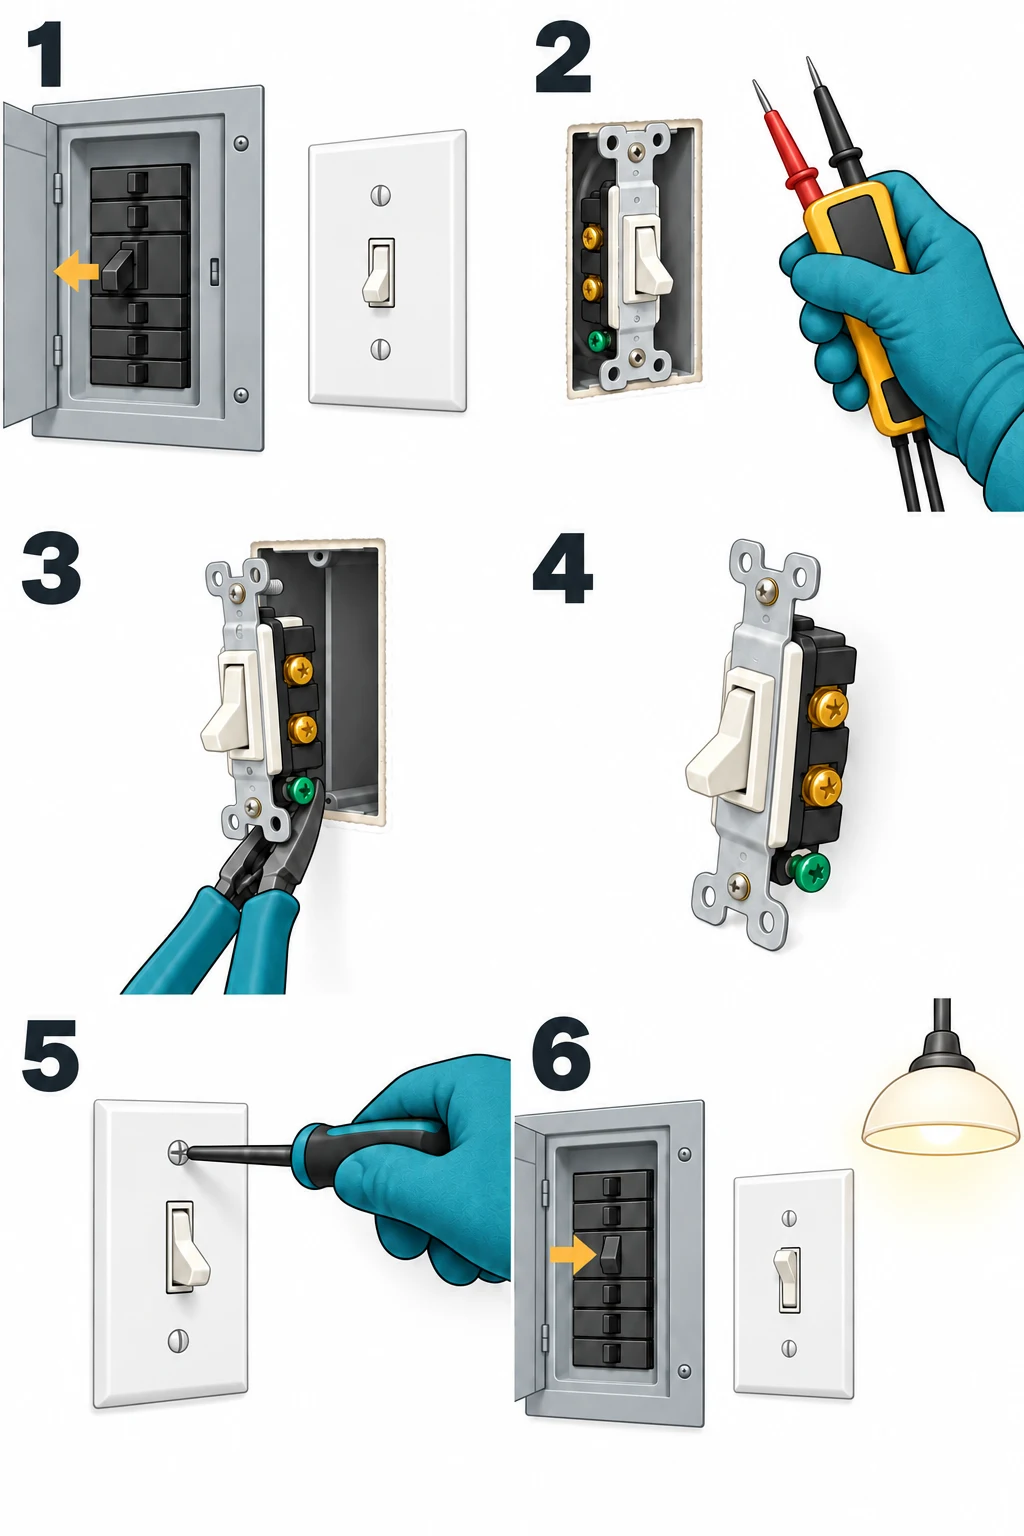
Open full-size image - 02
Verify before touching
Use a suitable tester and its instructions to verify the circuit and all relevant conductors are de-energized. Verify the tester on a known source before and after. If you cannot do this confidently, stop and use an electrician.
Equipment overview only. This picture does not show tester contact points or establish that power is off.Open full-size image - 03
Identify and document
With power verified off, remove the cover and mounting screws. Photograph and label the existing connections before disconnecting anything. Stop for unfamiliar wiring, multiple circuits, damaged insulation, aluminum conductors, or missing grounding arrangements.
- 04
Wire the matched replacement
Use the exact device’s diagram, permitted wire sizes, strip length, and terminal torque. Connect identified circuit conductors to the specified switch terminals and the equipment ground as instructed. Do not use a neutral as ground or disturb unrelated splices. Never infer function from insulation color alone.
Unconnected device overview, not a wiring diagram. Match your exact switch’s instructions.Open full-size image - 05
Refit the device and cover
Check that connections are secure and no unintended bare conductor is exposed. Carefully position conductors without pinching them, mount the switch, and install its wallplate.
Open full-size image - 06
Restore and test
Only after the box is closed, restore the breaker and test the switch. If it trips, sparks, buzzes abnormally, or smells hot, switch the breaker off and have the installation inspected. Do not repeatedly reset it.
Open full-size image
Optional supplies on Amazon
Affiliate disclosure: As an Amazon Associate I earn from qualifying purchases. How our links work.
Use what you already have. These links open Amazon search results so you can compare suitable supplies; they are not individual product reviews.
Why the diagram must match your device
An ordinary switch and a smart switch can look similar from the front while requiring different connections. Keep the packaging until the installation is checked. A specific manufacturer’s torque or strip-length requirement is not a universal value for every replacement.
Know where this guide ends
If a second switch controls the same light, you may have a three-way arrangement. If the existing installation is unclear, the task is circuit identification rather than simple replacement. Take the model number and a description of the problem to an electrician instead of trying combinations.
A quick final check
- The circuit was isolated and verified.
- Connections follow the exact device instructions.
- The box and wallplate are secure before power is restored.
Common questions & sticking points
Is turning the light off enough?
No. Isolate the supplying circuit and verify absence of voltage with suitable equipment.
Can I simply match the wire colors?
No. Colors alone do not establish a conductor’s function, particularly in older or modified wiring.
Sources & further reading Optional
References used to check this guide. Follow your product’s own safety instructions where its design differs.
- Leviton: Single-pole 5601 installation and wiring instructions
- ESFI: Test before you touch
- ESFI: DIY electrical safety and when to hire a professional