Feel the swollen base and harvest while it is firm and still relatively small, generally under four inches across. Cut the base rather than waiting for a flower stalk to emerge. Check plants individually because they may mature at different times. Heat and moisture stress reduce quality, so size alone should not determine how long you wait.
Florence fennel can bolt after stress, including root disturbance. Direct sowing avoids that disturbance. Thin seedlings carefully to let the bases swell and keep the bed moist. Transplants can work, but move them young with intact rootballs. Choose a suitable cool-season planting window so heat and timing do not undermine establishment.
One tomatillo may not set fruit reliably. Grow multiple plants, ideally compatible varieties flowering together, to improve cross-pollination. Leave flowers accessible to insects. If several plants still fail, check temperature extremes and excessive nitrogen. A tomato plant cannot supply the tomatillo pollen needed; the two plants are not interchangeable for this purpose.
Check inside the papery husk rather than waiting for tomato-like softness. For ordinary green tomatillos, pick when the fruit has filled its husk while remaining green and firm. Harvest regularly as individual fruits reach this stage. Different colored varieties need their own color cues, so retain the variety name and compare it with the seed supplier's description.
A small cage may be overwhelmed by a vigorous tomatillo. Plan a substantial cage, trellis, or other support and allow room for its broad branches; plants can spread more than tomatoes. Install the support early and guide branches as they grow. Keep enough access around the plant to inspect husks and pick fruit without breaking crowded stems.
Place a counted seed sample between moist paper towels in a covered container. Label it and use a suitable germination temperature. Check regularly without letting it dry. Count normal sprouts after allowing that crop enough time. Fifteen sprouts from twenty seeds suggests roughly 75 percent germination under those test conditions.
Keep seeds cool and dry, with packets labeled by variety and purchase year. Avoid a hot shed or a damp place where humidity repeatedly changes. Storage life differs among vegetables, so identical-looking packets can have very different viability after a few years. Test older seed before relying on it for a whole row or an important transplant batch.
Optional supplies on Amazon
Affiliate disclosure: As an Amazon Associate I earn from qualifying purchases. How our links work.
Divide the desired plant count by the germination fraction as a starting estimate. For twelve plants from seed testing at 75 percent, twelve divided by 0.75 gives sixteen seeds. Sow a little extra for losses after germination. A paper-towel test is an estimate under controlled conditions, so cold soil or weak seedlings can still lower establishment outdoors.
Crowding changes how shallots develop. Closely spaced plants tend to make smaller single bulbs, while more room encourages clusters. Choose spacing for the intended harvest rather than treating a green-onion row like a storage-bulb crop. Thin or plant sets according to a local guide, and control weeds shallowly so nearby roots are not repeatedly damaged by cultivation.
Avoid pushing late leafy growth when shallots should be maturing their bulbs. Utah State advises stopping nitrogen applications after mid-July in its growing conditions because late growth can reduce storage potential. Use your local crop calendar and soil-test recommendations rather than copying that date everywhere. Keep fertility decisions separate from watering needs as the crop approaches maturity.
Lettuce germinates best in relatively cool soil, and temperatures above about 80°F can reduce germination. Check the seedbed temperature as well as moisture before blaming the packet. Start a suitable fall crop under cooler conditions or use healthy transplants at the right season. Keep shallowly sown seed evenly moist; repeatedly adding more seed to the same hot, drying bed may repeat the problem.
Yes, lettuce thinnings can be transplanted if you retain some roots and handle them gently. Move suitable seedlings into prepared soil, water them in, and give them the spacing needed for their intended mature size. Work while they are still small rather than pulling apart crowded mature heads. This can fill a nearby gap, but damaged or dried-out seedlings are less promising than intact young plants.
Spring planting can produce garlic, although bulbs may be smaller than those from an appropriate fall planting. In cold-winter regions, plant suitable cloves as soon as local soil conditions allow in spring. Keep expectations realistic and follow regional guidance for your climate. Fall-planted garlic has more time to establish roots, so a late start is not automatically evidence of a fertilizer problem later.
Softneck garlic is the usual choice because its flexible necks can be braided after proper curing. Hardneck garlic forms a rigid central stalk and generally has a shorter storage life. Choose a softneck variety suited to your climate rather than selecting by braid appearance alone. Retain the variety label through harvest so you know which plants to set aside for that storage method.
Keep a substantial piece containing at least one healthy eye; Utah State recommends pieces weighing at least about two ounces. Cutting many tiny slivers sacrifices the stored reserves supporting early growth. Begin with certified seed stock and use the supplier's preparation guidance. Check every piece for an eye before planting, because a chunk of otherwise sound potato flesh without a growing bud will not serve the same purpose.
Irregular moisture during tuber development can interrupt growth and contribute to misshapen potatoes with knobs or cracks. Check how deeply watering reaches and whether the bed alternates between very dry and saturated conditions. Mulch can help moderate moisture and soil temperature. These symptoms are not a complete diagnosis, so investigate unusual rot or lesions separately rather than treating every distorted tuber as a watering issue.
Damage or obstruction to the developing main root can produce forks. Check for stones, compacted layers, and signs of root pests, and prepare a deep, loose seedbed before the next sowing. Avoid deep cultivation beside growing carrots. Forking has several possible causes, so compare the roots and the soil conditions rather than assuming an unusual shape automatically means the crop needed more fertilizer.
High soil and air temperatures can interfere with normal root color development. Confirm that the seed variety should be orange, then consider whether the crop matured during sustained heat. Keep moisture consistent and use an appropriate mulch to moderate root-zone temperature. For the next planting, time that variety for a cooler growing period. Pale roots alone do not identify a particular nutrient deficiency.
Crowding can reduce individual head size and limit side-shoot development. Utah State generally spaces broccoli about 12–18 inches apart within rows, with wider access between rows. Choose spacing around the harvest you want rather than squeezing in the maximum number of seedlings. If large central heads and later shoots matter, give each plant room to develop its leaf area instead of treating broccoli like closely harvested baby greens.
No. Harvest while the head is compact and its flower buds are still closed. Yellow flowers indicate that the harvest stage is passing, even if the head seems smaller than you hoped. Inspect plants frequently as they approach maturity, especially in warm weather. Use head condition alongside the variety's expected size instead of waiting for every plant to match a supermarket-sized head.
Follow the planting method recommended for your region. Utah State's crown method begins with about two inches of soil over crowns in a deeper furrow, then gradually backfills as growth develops. Avoid burying established green ferns during that process. The trench depth and the initial covering depth are different measurements, so read both before dropping crowns into a hole and covering them with the full excavated depth.
Avoid tilling through the bed because it can injure asparagus crowns and roots. Control perennial weeds before establishing the planting, then use appropriate mulch and careful surface weeding around established plants. Mark the rows so you can keep tools away from the crowns. This is a long-lived crop, so preserving its underground structure matters more than repeatedly making the bed look freshly cultivated.
Look for a compact or bush-type sweet potato variety and check its stated spread as well as its days to maturity. Those characteristics vary independently, so a smaller plant still needs enough warm growing time to develop storage roots. Plan its space before buying slips. Choosing an appropriate growth habit is more predictable than repeatedly cutting back a vigorous sprawling variety to fit a small area.
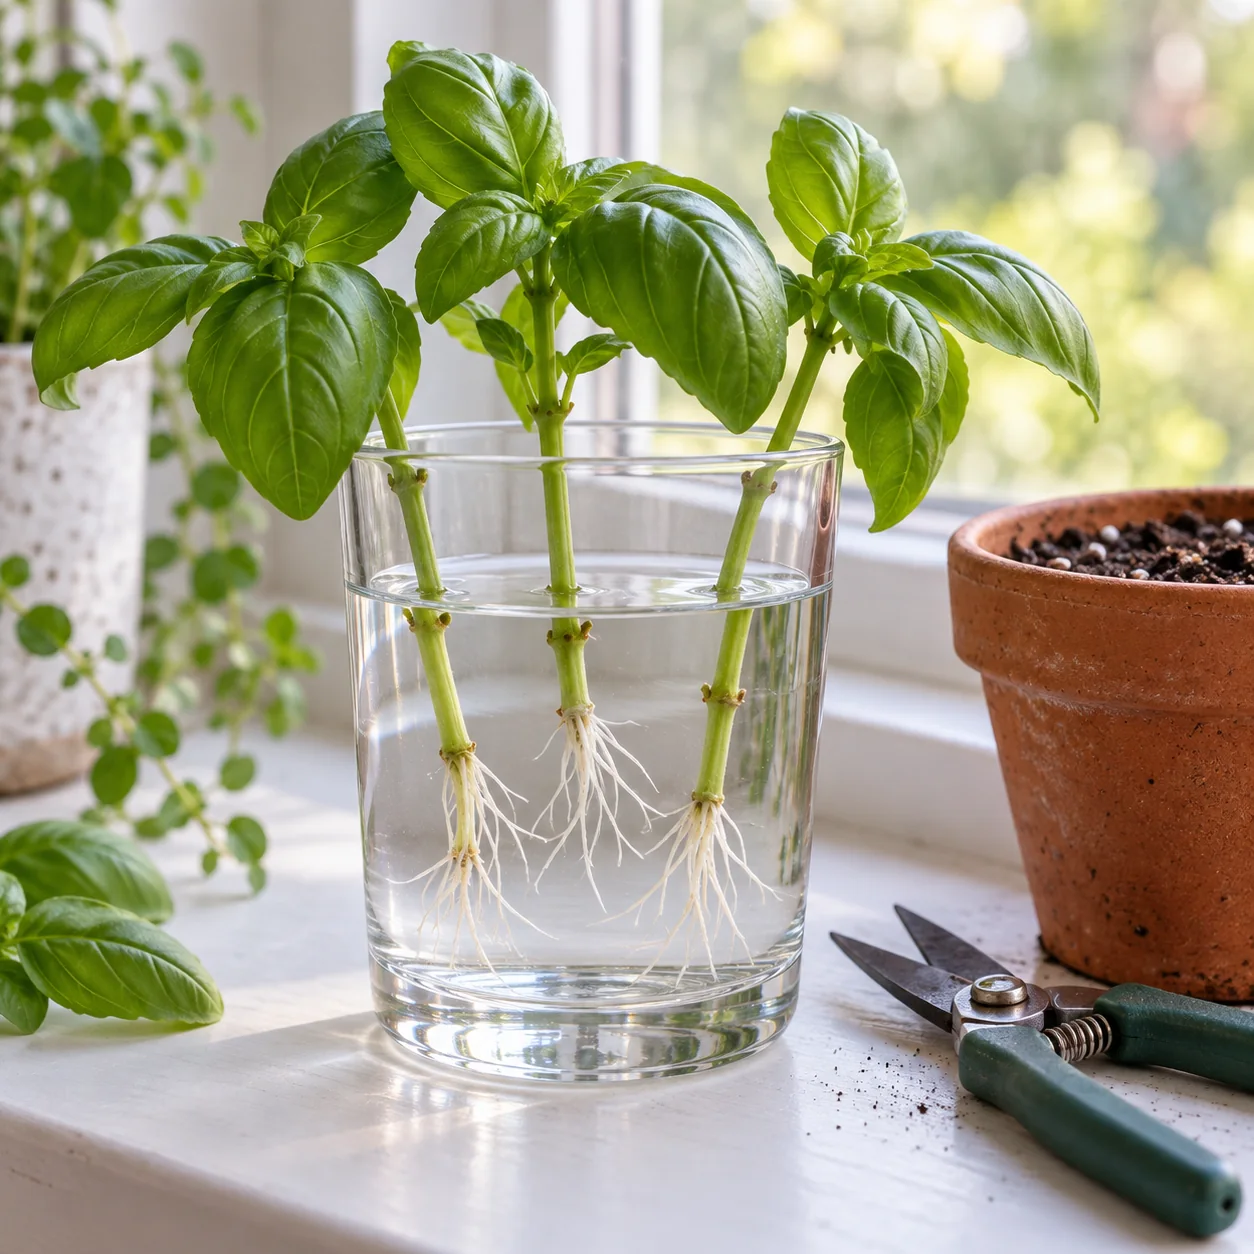
Use a healthy root suitable for propagation and support it in a container of water, or use a warm, moist propagation bed as described by your extension guide. Allow several weeks for shoots and roots to develop before separating suitable slips. Keep the growing material moist without waterlogging it. This produces young plants; it is different from cutting ordinary seed potatoes into eye-bearing pieces.