Repotting gives a plant fresh growing medium and, when needed, more root space. It is not an automatic cure for every yellow leaf. First check whether the roots actually need more room. Then choose a pot that fits the root system instead of jumping to the largest container available.
For a root-bound foliage houseplant, choose a pot one size larger with drainage, use suitable potting mix, and replant at the original depth.
Go straight to the stepsBefore you begin
Orchids, cacti, and other plants with specialized growing needs may require a different mix and method. Avoid forcing a stressed or damaged plant through unnecessary repotting.
What you’ll need
- A correctly identified houseplant
- A pot with drainage holes
- Potting mix suited to the plant
- A tray, small scoop, and water
Tools & supplies for this project
Affiliate disclosure: We may earn a commission when you buy through these Lowe’s links. How our links work.
Use what you already own. If you need supplies, compare these options with the requirements above and choose only the items your project needs.
Check Lowe’s for current price, availability and specifications.
Let’s do this
Step by step
- 01
Check whether repotting is needed
Look for tightly circling roots or a pot that dries unusually quickly in otherwise appropriate conditions. Spring is often a useful time as growth resumes.
- 02
Choose the pot and mix
Compare the new container with the root ball. For a small pot under about 10 inches across, RHS suggests going roughly 1–2 inches wider and deeper, rather than doubling its size. Confirm drainage holes are open and choose a mix appropriate for the plant.
- 03
Ease the plant out
Cradle the root ball and gently release the container; do not lift a delicate plant by its stems. Ease apart roots that loosen readily. Stop if freeing the plant would require breaking a pot or cutting a tightly bound root mass beyond your experience.
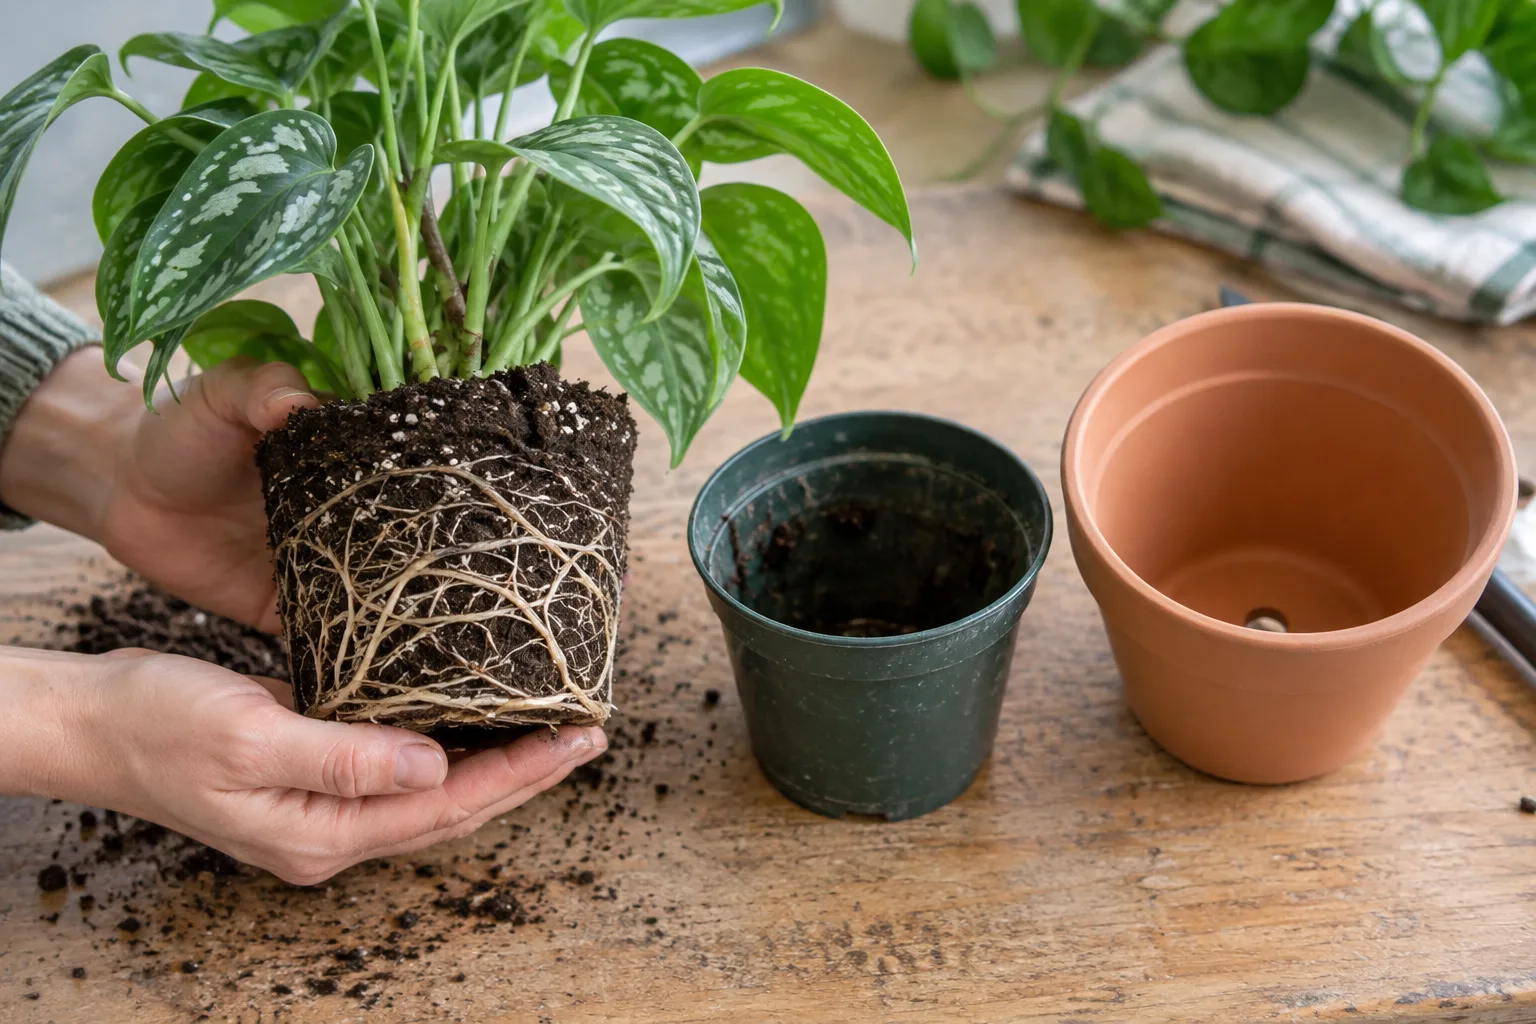
Compare the root ball and both containers before filling the new pot. Support the roots instead of pulling the stems.Open full-size image - 04
Set the planting depth
Add a little mix beneath the root ball, then test its height before filling the sides. Keep the original soil line at the same place on the stems and leave watering space below the rim. Add mix around the sides and settle it gently; do not bury the stems.
- 05
Water and observe
Water according to the plant’s needs and let excess drain. Return it to suitable light, then watch the mix and plant rather than automatically adding extra water every day.
Optional supplies on Amazon
Affiliate disclosure: As an Amazon Associate I earn from qualifying purchases. How our links work.
Use what you already have. These links open Amazon search results so you can compare suitable supplies; they are not individual product reviews.
Why a much larger pot can cause trouble
A large amount of unrooted mix can stay wet longer than you expect. More space is not automatically a healthier environment. Start with the root ball you have and select the next appropriate size, not a container chosen solely to match the furniture.
A decorative outer pot is useful only if you manage the water inside it. If the plant sits in a separate nursery pot, lift it out or check the bottom after watering so the drainage water is not trapped around the roots.
Keep a short plant record
Write down the repotting date, pot size, and mix used. Take one photograph in the normal growing spot. If the plant changes over the following weeks, those simple details help you assess what changed without relying on memory.
A quick final check
- The new pot has drainage.
- The plant sits at the intended depth.
- Excess water is not trapped in a saucer or cover pot.
Common questions & sticking points
Do I need to repot every plant every year?
No. Growth rate, root space, and the condition of the mix matter more than a fixed annual rule.
Will repotting fix yellow leaves?
Not necessarily. Watering, light, temperature, pests, and other factors can cause similar symptoms. Investigate before making several changes.
Sources & further reading Optional
References used to check this guide. Follow your product’s own safety instructions where its design differs.
- RHS: Repotting and watering a container plant
- University of Minnesota Extension: Root-space checks and pot sizing