Many Mod Podge formulas look milky when wet and dry clear. Give the specified coating time to dry instead of adding more product to correct the temporary color. Thick layers and humid conditions can prolong drying. Confirm the exact formula, since specialty finishes have different appearances, and test it on a sample before sealing a finished illustration or important keepsake.
A flat square knot alternates the starting side between its two halves. If you repeatedly make the same half-knot, the work naturally twists into a spiral. Pause after each half and check which outside cord crosses the center cords next. Practice a short sample with contrasting working cords so you can see the alternation before returning to the project.
The two outside cords are the working cords; the two center cords provide the core around which the knot forms. Hold the center pair steady while the outside pair crosses and loops around them. Tighten both working ends evenly. Keeping these roles clear prevents accidentally knotting a center cord into the pattern or pulling the whole column out of alignment.
For a basic lark's-head attachment, fold the cord at the intended midpoint and place the folded loop around the dowel. Pass both loose ends through that loop and draw them down evenly. Keep neighboring attachments facing the same way for a consistent appearance. Check tail lengths before tightening fully, since an uneven start can leave one working end too short later.
A felting mat supports the fibers while allowing the barbed needles to pass through the work instead of striking a hard tabletop. Use a support intended for the tool and keep your fingers clear of the needle path. Lift and reposition the piece periodically as appropriate. A protective mat makes the process workable, but it does not make the sharp needles harmless.
A tool holding several needles covers a broad area quickly, while a smaller needle arrangement gives more control around narrow details. Clover's pen-style holder can use one to three needles for this purpose. Choose the setup for the area being worked and follow the tool's assembly instructions. Replace bent or broken needles rather than pressing harder to compensate for them.
Cut a manageable length, loosen its end, and pull out one strand at a time while holding the remaining bundle gently. Let the strand straighten, then recombine the number required by the pattern. Pulling several strands apart as opposing bundles encourages tangles. Check that the thread is actually a divisible six-strand floss before trying this with another kind of embroidery thread.
Optional supplies on Amazon
Affiliate disclosure: As an Amazon Associate I earn from qualifying purchases. How our links work.
An overly long working length passes through the fabric repeatedly and can become worn, dirty, or tangled. Try a shorter length, roughly fingertip to elbow as a practical starting point, and inspect your needle for a rough eye. Keep your hands clean and use the pattern's strand count. Replacing a damaged length is usually easier than repeatedly pulling frayed thread through.
Optional supplies on Amazon
Affiliate disclosure: As an Amazon Associate I earn from qualifying purchases. How our links work.
Fourteen-count Aida has fourteen stitch squares per inch. A design 140 stitches wide measures ten inches across before margins. Higher-count fabric makes that design smaller. Calculate using the chart’s stitch dimensions and fabric count, then add finishing margins on every side so the cloth also fits your chosen framing method.
Optional supplies on Amazon
Affiliate disclosure: As an Amazon Associate I earn from qualifying purchases. How our links work.
On evenweave or linen, a cross may span two fabric threads in each direction rather than one Aida block. This changes the effective stitch count: twenty-eight-count fabric worked over two gives about fourteen crosses per inch. Check the pattern before starting, because working over one instead would make the design much smaller and could affect thread coverage and detail.
Calculate the stitched width and height from the chart's stitch counts and your effective fabric count, then add finishing margins on all sides. The stitched rectangle alone is not enough for hoop handling or mounting. Decide the finishing method before cutting fabric, and center the design within the area so the last row avoids a fraying edge.
Optional supplies on Amazon
Affiliate disclosure: As an Amazon Associate I earn from qualifying purchases. How our links work.
Before unpicking the old zipper, baste through the layers along each opening, about an inch from the edge. That temporary stitching helps hold the lining and outer fabric together while you remove the zipper's stitches. Fit a suitable replacement, check that the fronts align, and stitch along the intended seam. Test the zipper before removing the basting so problems are easier to correct.
Optional supplies on Amazon
Affiliate disclosure: As an Amazon Associate I earn from qualifying purchases. How our links work.
For the elastic-thread shirring method, use ordinary sewing thread above and elastic thread in the bobbin. Wind the elastic bobbin by hand evenly without overfilling it, then follow your machine's guidance for seating and tension. Practice several rows on the actual fabric before starting the garment. Elastic behavior and the fabric both affect the amount of gathering, so copying another machine's tension number is unreliable.
Leave usable thread tails instead of using an automatic thread cutter. Bring the ordinary and elastic tails together on the wrong side and tie them securely, following the construction method for the garment. Brother also describes stitching across the row ends to anchor them. Test your finish on a sample first; trimming loose elastic flush before securing it can let the row retract.
If your machine supports twin needles, fit an appropriate stretch twin needle and thread its two needles from separate spools as your manual directs. Use a compatible straight stitch, stabilize the folded knit hem if needed, and sew from the garment's right side. Test the needle clearance and stretch on a scrap first. The bobbin thread links the two upper rows underneath.
Leave long enough tails to handle when you finish the overlapping stitching. Use a hand-sewing needle to bring the upper-thread tails to the garment's wrong side, then secure and trim them there. Check that the hem still stretches as needed and lies flat. Follow the machine's twin-needle guidance rather than assuming its automatic cutter or normal backstitch routine is suitable for this setup.
Raise both needles out of the fabric before changing sewing direction. Unlike a single needle, the two points hold the cloth in two places, so twisting it can bend or break them. Stop, raise the needles, lift the presser foot as needed, reposition the work, and lower the foot again. Check your machine's twin-needle restrictions before selecting stitches or needle positions.
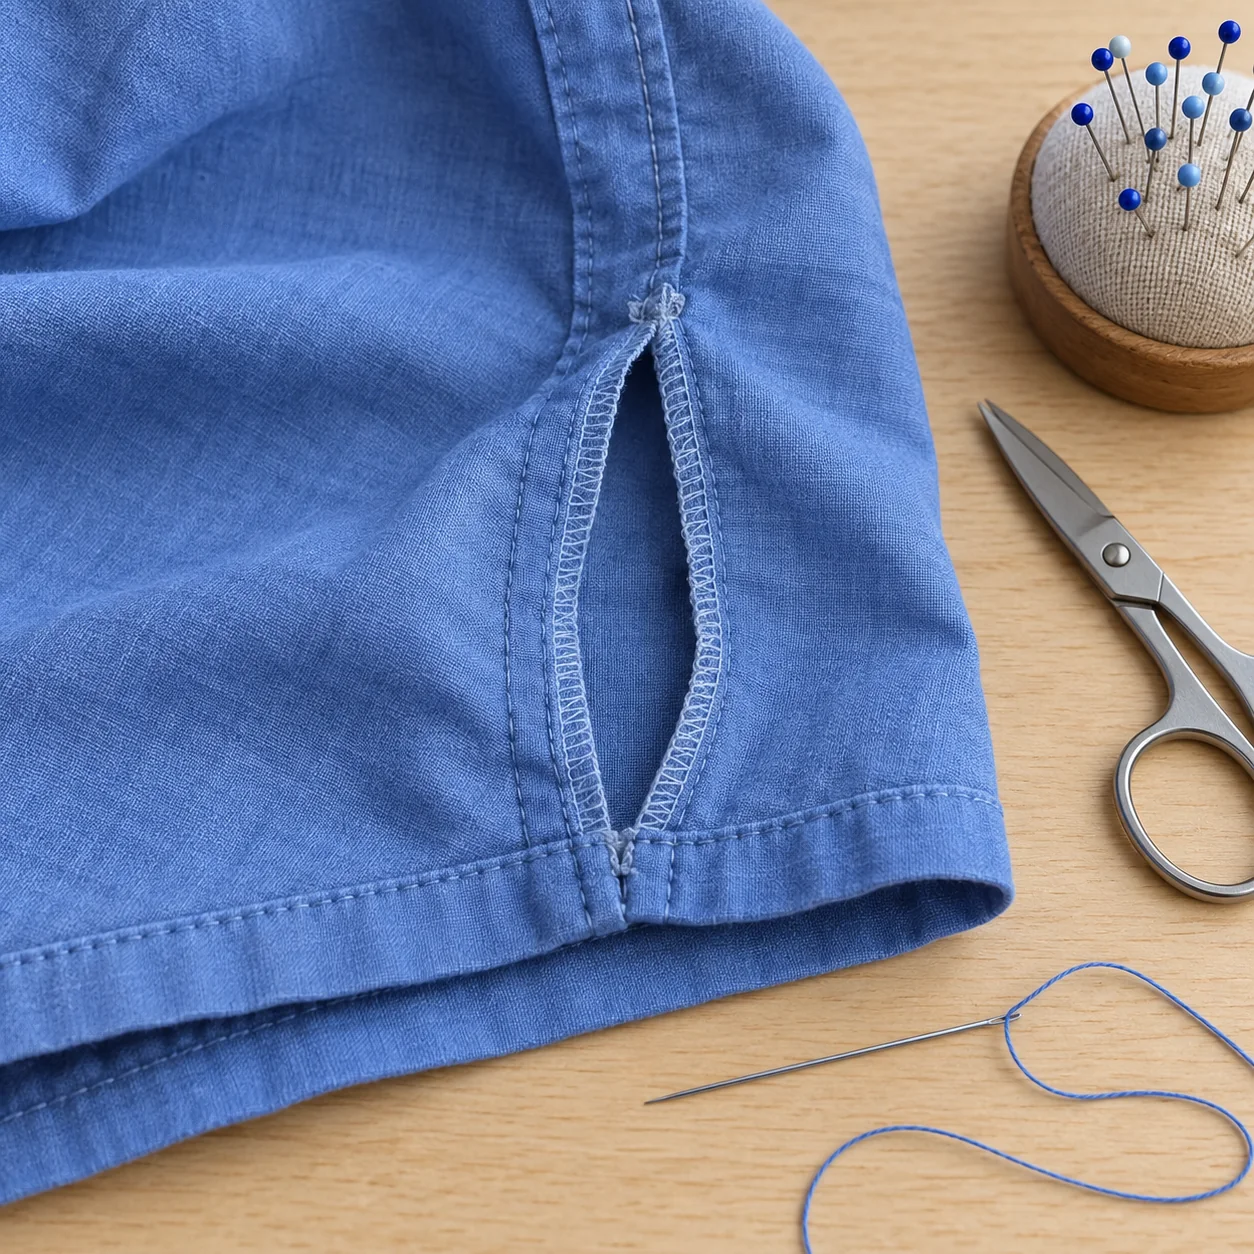
Look beyond the open hole for surrounding denim that is thin or fraying. Cut the patch large enough to reach sound fabric around that whole weakened area, using prewashed material of similar or lighter weight. Secure it flat before stitching. A tiny patch that just covers the opening can leave its attachment stitches pulling against fabric already close to tearing.
Optional supplies on Amazon
Affiliate disclosure: As an Amazon Associate I earn from qualifying purchases. How our links work.
Compare thread against the worn area you are repairing, rather than the darkest original denim elsewhere. A close match to the faded fabric generally blends better. Make a small test on suitable scraps to judge both color and stitch density. Follow the fabric's grain or twill direction where practical, and avoid building an unnecessarily thick solid block of stitching around a small repair.
Optional supplies on Amazon
Affiliate disclosure: As an Amazon Associate I earn from qualifying purchases. How our links work.
Packing too much stitching into one spot can distort the fabric. Practice on a flat scrap, support the weakened area appropriately, and build coverage with spaced passes rather than repeatedly filling one line. Let each pass reach sound material beyond the damage. For a trouser leg, improve access if the tube will not lie flat; pulling a wrinkled area taut can hide the problem temporarily.
Reverse applique places a larger backing patch behind an opening so its fabric shows through. Remove the damaged material in a deliberate shape, position the patch flat behind it, and stitch around the opening with a suitable edge finish. Test the stitch on scraps first. Keep the backing and stitching anchored in sound fabric, because a neat outline alone cannot strengthen a badly weakened surrounding area.
Optional supplies on Amazon
Affiliate disclosure: As an Amazon Associate I earn from qualifying purchases. How our links work.
A thick seam can tilt the long foot and prevent its sliding mechanism from feeding consistently. Test the same layer arrangement on scraps and use the compatible buttonhole compensation plate or leveling accessory recommended for your machine. Keep the work supported and parallel under the foot. Do not force it forward by pulling, since that changes stitch spacing and can damage the needle.
Let the shaped bead firm up briefly before piercing it, then use a needle tool with a gentle twisting motion rather than pushing hard against the ball. Support the bead lightly and check that the passage is open before baking according to that clay's package. Alternatively, a suitable hand drill can make the hole after curing. Practice on a spare bead to judge spacing and distortion.
Use a suitable bead-baking rack to suspend pierced beads while they cure, following the rack and clay instructions. Leave space between pieces so they do not touch or stick together. Check that the supports are stable before moving the tray. Baking a soft round bead directly on a flat surface can flatten its contact point, even when you have shaped the rest carefully.