Work the stitch before the color change until two loops remain on the hook. Use the new color for the final yarn over and pull-through, so the loop ready for the next stitch is already the new color. Leave tails for finishing. This places the color transition more cleanly than completing the whole previous stitch in the old color.
It depends on the technique. Tapestry crochet encloses the unused strand inside the working stitches, while intarsia usually uses separate bobbins or balls for larger color areas. Carrying a strand across a wide block can add unnecessary bulk. Follow the design’s method and keep strand tension even so color changes do not pull the fabric narrow.
A closed ring marker sits on a knitting needle between stitches and moves from needle to needle as you reach it. A locking or removable marker opens so it can attach to a particular stitch, row, or fabric side, making it useful in crochet too. Choose a marker that fits without stretching or snagging the yarn.
Optional supplies on Amazon
Affiliate disclosure: As an Amazon Associate I earn from qualifying purchases. How our links work.
With the intended face toward you, insert the needle through the center of a complete edge stitch, catch the working yarn, and pull a new loop through to the front. Leave that loop on the needle and continue at the spacing the pattern specifies. Catch both legs of the chosen stitch rather than splitting only one strand.
Not automatically. A vertical edge is made of rows, while a horizontal edge is made of stitches, and their dimensions differ. Follow the pattern’s pickup count or ratio and distribute the stitches evenly along the section. Too many can create a wavy border; too few can pull it tight. Do not assume one edge’s instructions apply to every edge.
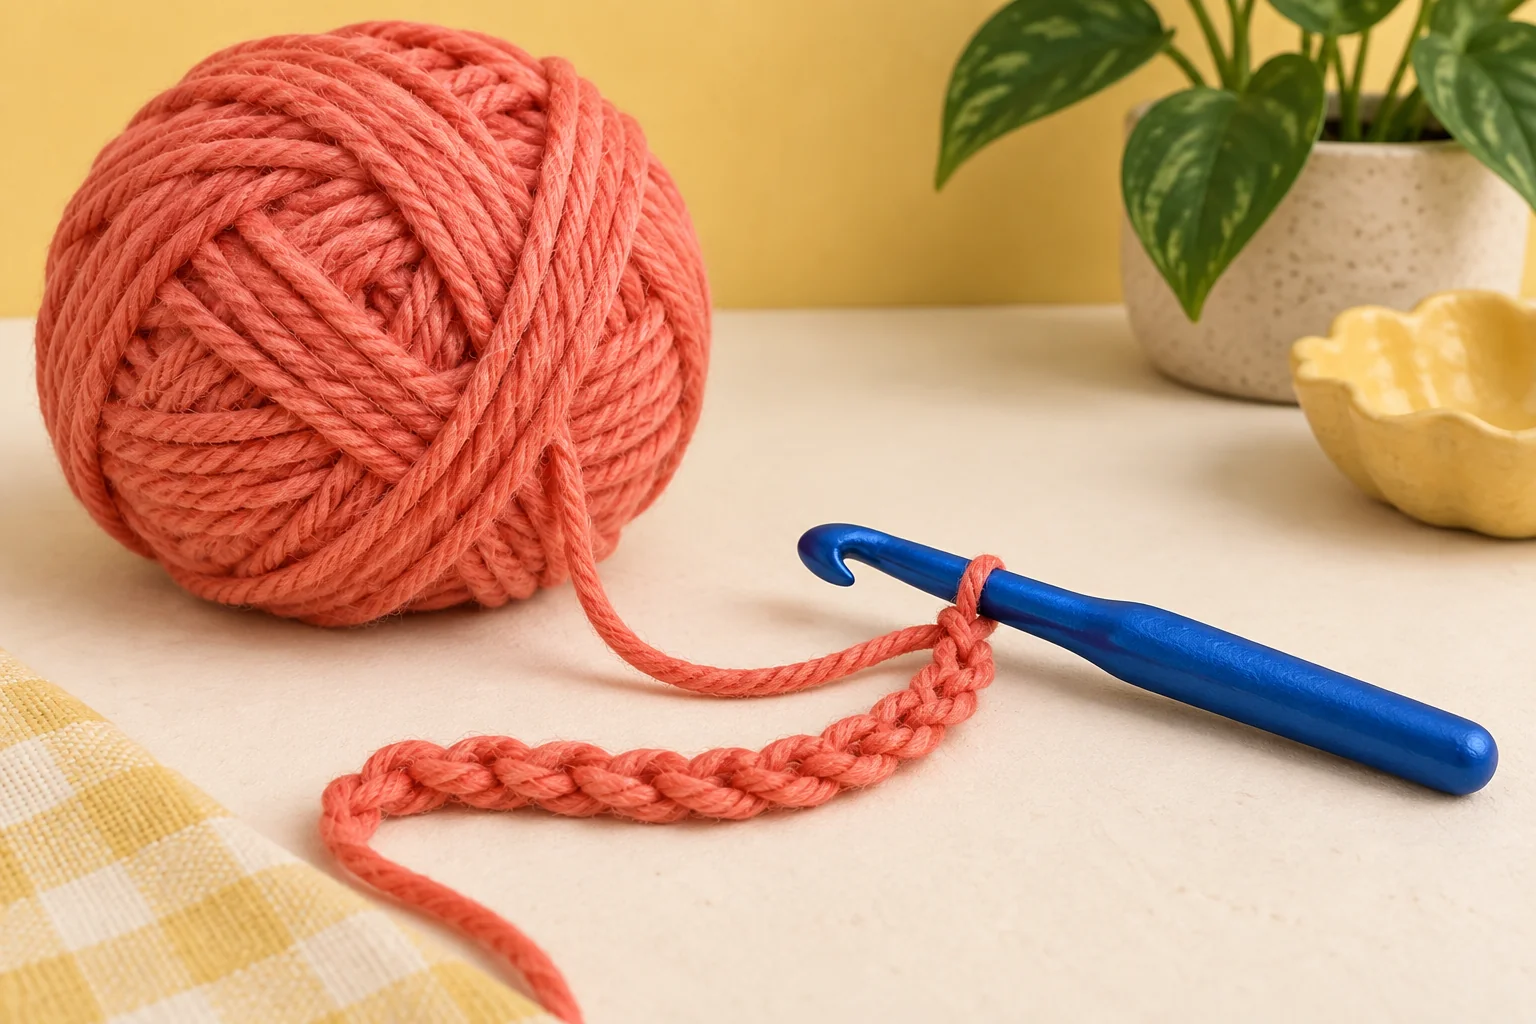
Form a yarn loop and hold the crossing point. Put the hook through the loop, catch the strand leading to the ball, and pull up a loop; make the starting chain the stitch requires. Work the first round around the yarn loop, then pull its short tail to close the center. Secure that tail when finishing so the opening stays closed.
Optional supplies on Amazon
Affiliate disclosure: As an Amazon Associate I earn from qualifying purchases. How our links work.
It temporarily holds the starting stitches so they can become live stitches again later. That lets you work in the other direction, add an edging, or join pieces without a permanent cast-on ridge. Use the provisional method specified by the pattern and distinguish the waste yarn from the project yarn before starting.
Identify the first row of project-yarn stitches and place the live loops onto a needle before removing their temporary support. Count them against the pattern, then gently release the waste yarn in the direction appropriate to that cast-on method. If it catches, stop and inspect the strands rather than pulling harder or cutting through the project yarn.
A lifeline is a separate strand passed through the stitches of a known row or round. If you later need to undo work, it marks and supports a point where you can recover the loops more clearly. Add one at a verified stage before complicated shaping, record the row, and leave enough tail that the strand cannot easily slip out.
Identify the target row before threading the lifeline and place removable markers at several points along it. Use those as checkpoints while passing through the corresponding stitch bumps, especially where the fabric is hard to read. Inspect the completed path before relying on it. A strand that drifts into neighboring rows will not provide one consistent recovery point.
Leave a usable tail from the old ball and begin the next stitch with a loop of the new yarn, leaving another tail to weave in. Hold the new strand securely until the stitches settle. Where the project allows, joining near an edge can make finishing less noticeable. Adjust loose join stitches and weave both tails into the fabric afterward.
Treat it as a place to make a controlled yarn join rather than relying on the factory knot to remain hidden and secure. Remove the knot while preserving enough yarn on both sides for tails, then join as you would a new ball. Weave the ends into the fabric using a method suited to the fiber and stitch pattern.
Curling is a natural property of plain stockinette, not necessarily a tension mistake. Its two faces have different stitch structures, so exposed edges tend to roll. If you want a flatter hem or scarf edge, choose a design with a balanced knit-and-purl border, such as garter, seed stitch, or ribbing, rather than expecting plain stockinette to behave the same way.
Smaller needles can make cuffs and hems firmer and help their width align with the main fabric. Some border stitch patterns spread differently from stockinette, so the needle change is part of the design. Follow the pattern and check your swatch rather than keeping one size throughout merely for convenience; the transition affects fit as well as appearance.
Align the edges and corners, then use a tapestry needle and suitable yarn to pass through corresponding edge strands on both squares. Repeat in the same direction along the seam, matching stitches and keeping tension even. Leave tails to secure afterward. Check the joined fabric lies flat before tightening; pulling the seam too firmly can gather the edges.
Optional supplies on Amazon
Affiliate disclosure: As an Amazon Associate I earn from qualifying purchases. How our links work.
Use the time and temperature printed for the exact clay product, including its thickness instructions. Measure the thickest relevant section of the piece instead of judging by its overall width. Different formulas have different curing requirements. Preheat the oven, verify the temperature with a separate oven thermometer, and allow the baked work to cool before assessing its finished strength.
The dial setting may differ from the temperature where the clay sits. Position a readable oven thermometer near the baking area and verify that the oven holds the clay manufacturer's required temperature. This helps avoid both scorching and incomplete curing. Test a small sample before committing a detailed piece, and maintain the ventilation specified by the clay and oven instructions.
Optional supplies on Amazon
Affiliate disclosure: As an Amazon Associate I earn from qualifying purchases. How our links work.
Kneading or passing clay through a conditioning machine makes it more evenly workable. Begin with small manageable portions, then combine them once they become pliable. Conditioning is preparation rather than curing: the clay still needs its specified baking process. If it remains unusually crumbly, use a compatible softener according to the maker's directions instead of adding arbitrary household liquids.
Do not increase the temperature to shorten the bake. Polymer clay needs the manufacturer's specified curing conditions, and overheating can damage the material and release irritating fumes. Keep the actual oven temperature at the recommended level and allow the required time. If a project is too thick or awkward to cure predictably, revise its construction before baking rather than improvising extra heat.
A glossy finish can emphasize a deep scratch rather than conceal it. Correct larger dents and joins before curing, then refine minor surface marks with an appropriate finishing method after the piece cools. Test the complete finish on a scrap of the same clay. Apply compatible glaze in thin coats when needed instead of flooding a rough surface with one thick layer.
Use a light touch and snug, clean gloves or fingertip covers when a smooth surface matters. Loose gloves can leave folds of their own, so test the fit on scrap clay. Keep the work area clean and inspect the piece before baking, when larger flaws remain easier to correct. Handle it as little as possible during the final shaping stage.
No. Crayola says an acrylic varnish may seal a completely dry piece, but it does not make the material waterproof. Keep the finished object indoors and away from water instead of using it as a vase or outdoor ornament. Test varnish compatibility on a spare piece first, and wait for the clay to dry fully before coating its surface.
Let the piece dry completely before painting, following the clay maker's drying guidance for its size and thickness. A firm-looking surface can hide moisture inside. Use a compatible paint and test the color on spare dried clay first. Painting is decoration rather than proof of water resistance, so keep the final object's intended use within the clay product's limits.
Work while the adhesive layer is still wet. With the appropriate Mod Podge formula, cover the paper with wax paper and gently smooth outward using a squeegee so it does not stick directly to the design. Avoid stretching delicate wet paper. Use an even adhesive coat underneath, and test your paper first because thin or absorbent sheets behave differently.