Choose a sweep compatible with the door and threshold, then position it according to its instructions so it seals without excessive dragging. Test the door through its full swing before final tightening. A warped door or damaged threshold needs correction; an oversized sweep is not a cure for every gap.
Dirt, moisture, old adhesive, unsuitable temperature, or a poorly fitting strip can weaken its bond. Clean and dry the surface and follow the product's installation conditions. Check the gap size first so closing the door does not crush or peel the strip. Replace damaged material rather than stacking layers.
Useful supplies at Lowe’s
Affiliate disclosure: We may earn a commission when you buy through these Lowe’s links. How our links work.
Yes. Weight alone does not prevent tip-over, especially when drawers open or a child climbs. Install the manufacturer's anti-tip restraints with fixings suitable for the wall and furniture. Keep tempting objects off the top. Do not substitute a picture-hanging hook or assume placing heavy items low replaces anchoring.
Use a stand designed for the television and secure the TV according to its instructions. A tabletop setup can still tip; wall mounting is not the only situation where restraint matters. Secure supporting furniture where required too, and keep remotes or toys from encouraging children to climb toward the screen.
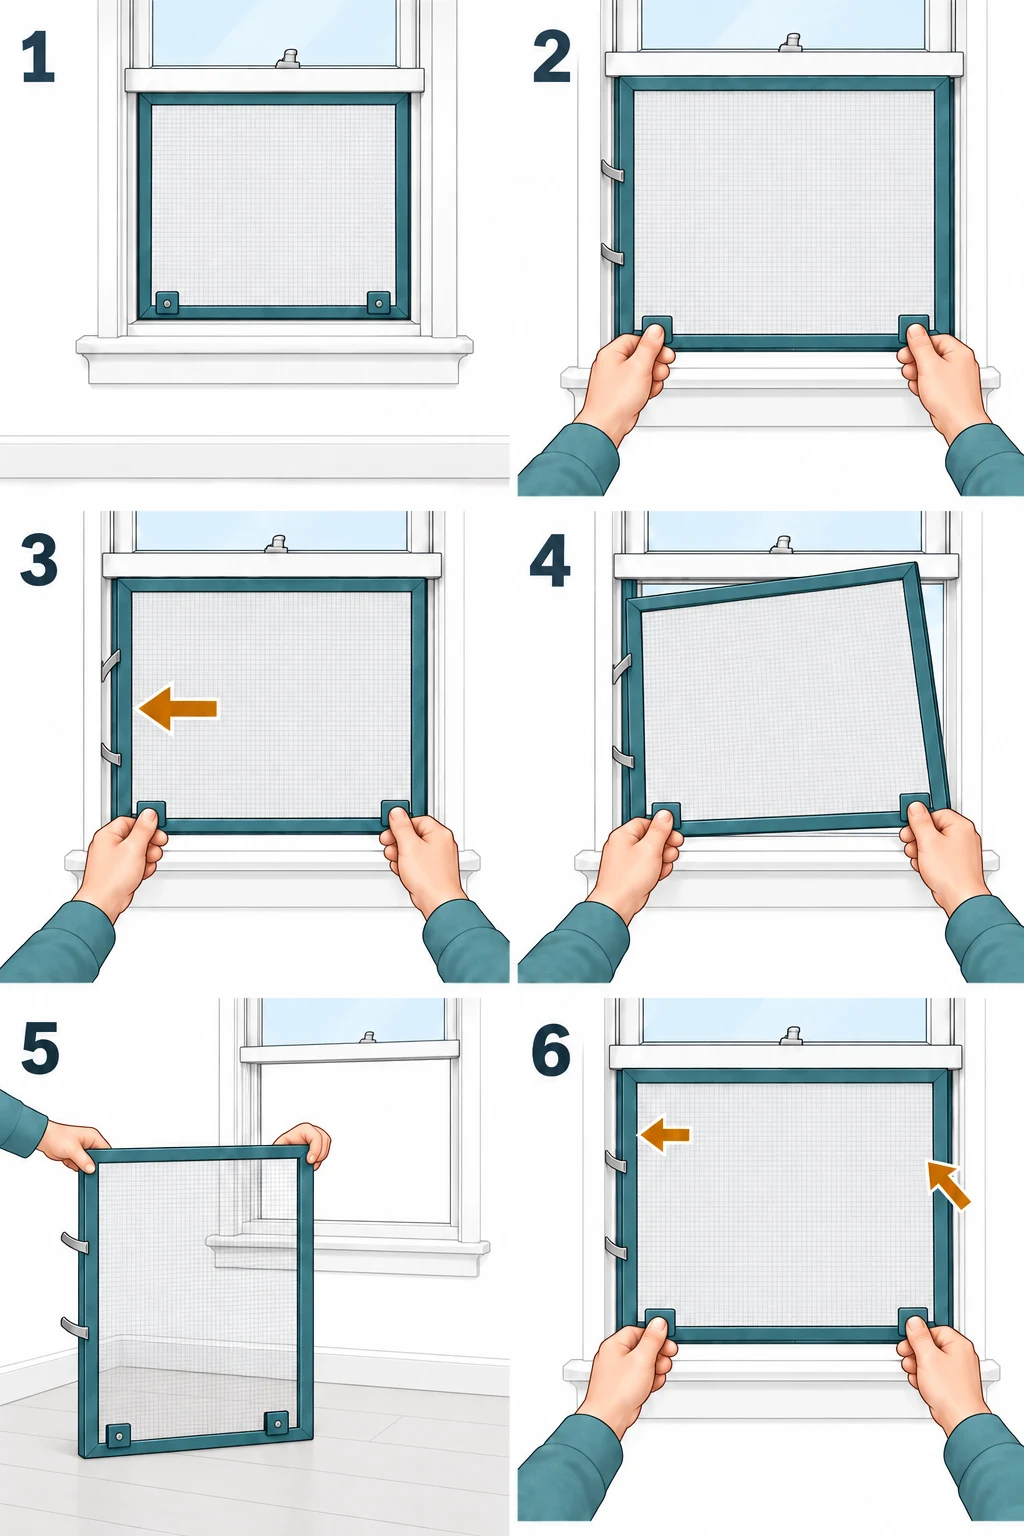
No. Insect screens are not fall-protection devices. Use appropriate window guards or stops, installed and maintained as instructed, while preserving required emergency escape. Move climbable furniture away from windows. A screen that feels firm to an adult's light touch should never be treated as a protective barrier.
The bracket helps prevent the appliance tipping forward, which can cause crushing injuries or spills of hot contents. Have it installed and engaged according to the range instructions, including after the appliance is moved. Do not test it by climbing or putting weight on the open oven door.
CPSC recommends cordless window coverings in rooms where children may be present. Keep beds, cribs, toys, and climbable furniture away from windows. A dangling or accessible looped cord can be dangerous even when it seems high enough. Follow installation instructions for any required tensioning or safety devices.
The specified tension device helps keep an accessible loop from hanging freely. Install it exactly as directed; do not leave it loose because the blind still operates. Cordless coverings are the safer choice around young children. Keep furniture away so children cannot climb into reach of remaining cords or chains.
Clamp the work securely to an appropriate support before drilling. Do not hold it in one hand while operating the drill with the other; the bit can catch and rotate the piece. Keep hands out of the drilling path and check that the bit cannot strike the bench or anything underneath.
Optional supplies on Amazon
Affiliate disclosure: As an Amazon Associate I earn from qualifying purchases. How our links work.
Support the work securely and reduce feed pressure as the bit approaches the far side. A suitable sacrificial backing board can support the exit surface. Keep hands away from underneath the hole. Let the correct sharp bit cut rather than forcing it through the last few fibers.
Release the trigger and disconnect the power or remove the battery before working on the jam. Secure the work and follow the tool's instructions to free the bit. Do not repeatedly pulse the trigger against a trapped bit; the drill can twist suddenly. Check the bit for damage before reuse.
A key left in the chuck can be thrown out when the spindle turns. Remove it immediately after tightening, then check that the bit and clamped work are secure before switching on. Build that into every setup rather than relying on memory once the machine is already running.
Do not wear gloves around a rotating drill press; they can become caught. Secure sleeves, hair, jewelry, and the workpiece too. Use appropriate eye protection, keep guards in place, and remove chips with a brush or other suitable tool after stopping the machine, rather than with your fingers.
Stop the machine and wait until rotation has completely ceased. Use a brush, vacuum, or suitable chip-removal tool, keeping hands away from sharp swarf. Do not wipe the bit while it turns. For deep holes, follow the drilling procedure for clearing chips without letting the bit become packed or overheated.
For a standard starter-hole method, drill a hole large enough for the blade in the waste area. With the saw off, place the blade through it and rest the shoe on the supported work. Start with the blade clear of the edge, then cut along the marked line as instructed.
Check that the work is firmly supported near the cut and that the saw's shoe stays against it. A loose workpiece, unsuitable blade, or excessive feed pressure can worsen vibration. Stop to make adjustments and disconnect power for blade changes. Do not push harder to overpower a bouncing or damaged setup.
Release the trigger and wait for the blade to stop completely before lifting the saw away. Keep the work supported and hands clear of the blade below it. Pulling out while it is still moving can snag the edge or damage the cut. Follow the tool's instructions for clearing a bind.
Do not operate a saw with a sticking guard or hold the guard open as a workaround. Disconnect power and have the cause corrected according to the manual. The lower guard must move freely and return properly. Check that it covers the blade before setting the stopped saw down.
Do not twist a circular saw in the cut. That can bind the blade and increase kickback risk. Stop, wait for the blade to cease moving, and reassess alignment and support before restarting according to the manual. Use a suitable guide and controlled feed for a straight cut.
Secure the material independently and use the saw's intended two-hand grip. Keep both hands out of the blade path, including underneath the work. A loose board can shift or pinch the blade. Set up proper support and a clear cut path before powering the saw.
Only if that exact ladder is designed and labeled for that configuration. An ordinary stepladder should be fully opened with its spreaders locked, on firm level footing. Follow its labels for permitted standing steps. Improvising a leaning setup changes the support arrangement the ladder was designed to use.
Yes. Account for your body weight plus clothing, tools, and anything carried or supported on the ladder. Read the actual rating label instead of judging by appearance. Use a suitable ladder for the task and inspect it first; staying below the rating does not make damaged or unstable equipment safe.
Keep your body centered between the side rails and avoid reaching so far that your balance shifts outside them. Climb down and reposition the ladder closer to the work. Never try to walk or shift it while standing on it. Choose another working platform when the task cannot be reached safely.
Keep two hands and one foot, or two feet and one hand, in secure contact while climbing. Face the ladder and keep your body centered. Use an appropriate way to raise tools separately when carrying them would prevent a secure grip. Clean slippery footwear before stepping onto the rungs.