How to use a multimeter: test an AA battery
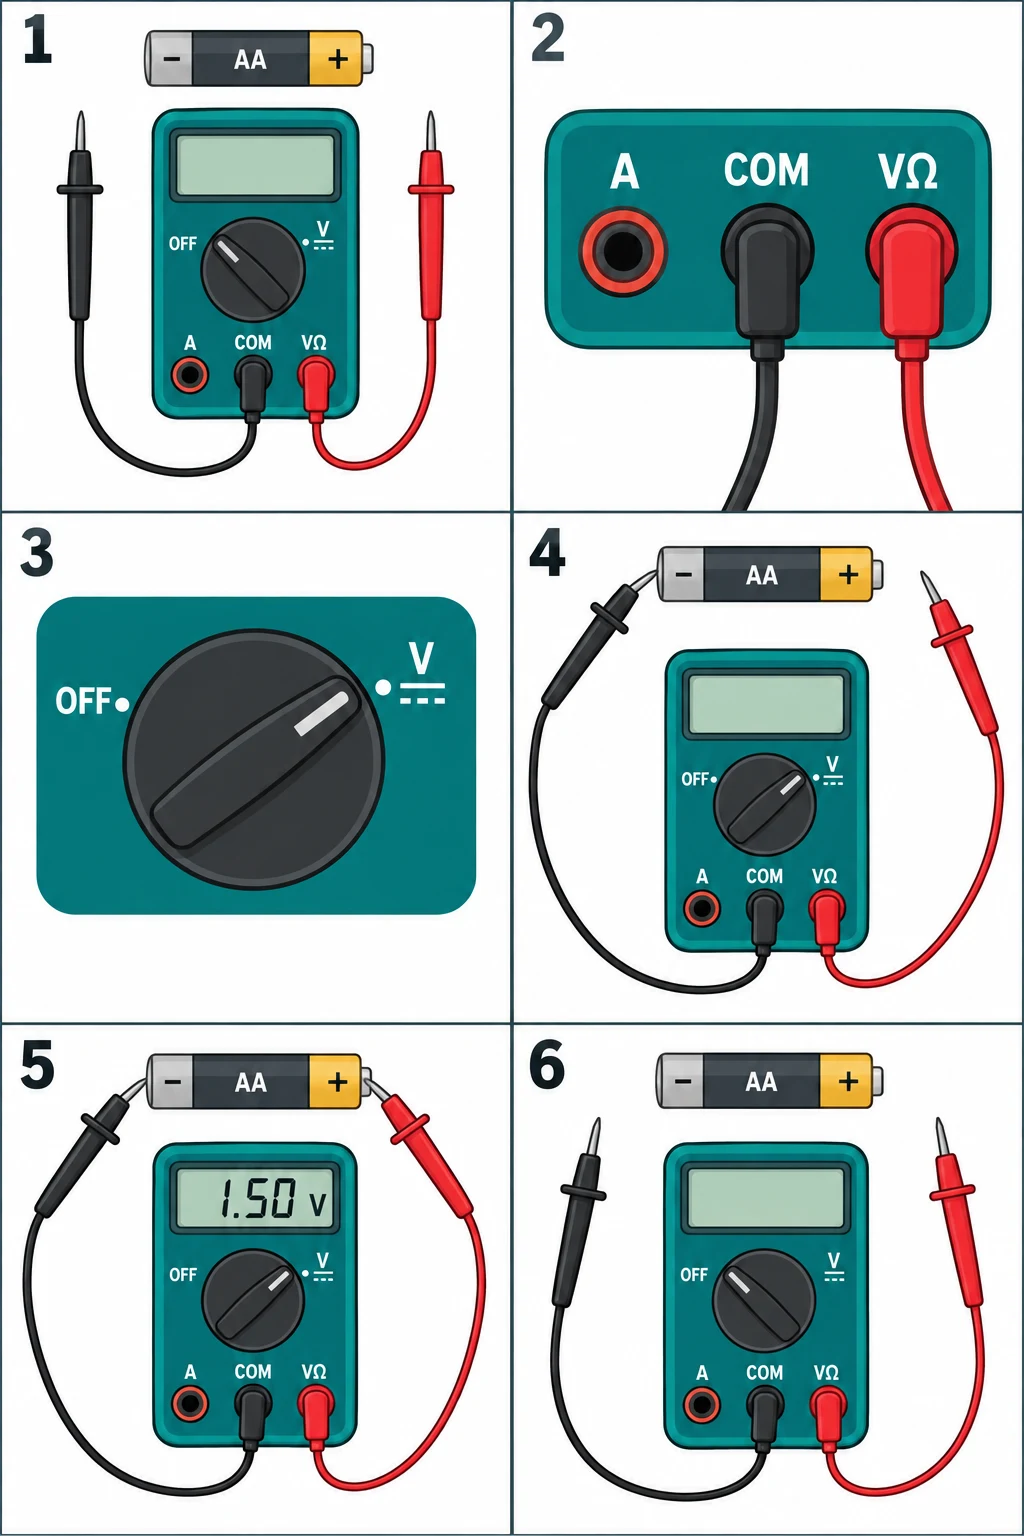
Put black in COM and red in V, select DC volts, touch black to battery minus and red to plus, and read the display.
844 useful answers · Page 33 of 36
Change bulbs, patch walls, identify window hardware, and learn practical tool basics.
Search this topicPut black in COM and red in V, select DC volts, touch black to battery minus and red to plus, and read the display.
In “How to use a multimeter: test an AA battery”
Disconnect and check the selected function and range against the manual. An over-range reading is not a reason to move the red lead to A.
In “How to use a multimeter: test an AA battery”
No. Mains testing involves different hazards, equipment ratings, and training. This beginner exercise stays with a loose AA battery.
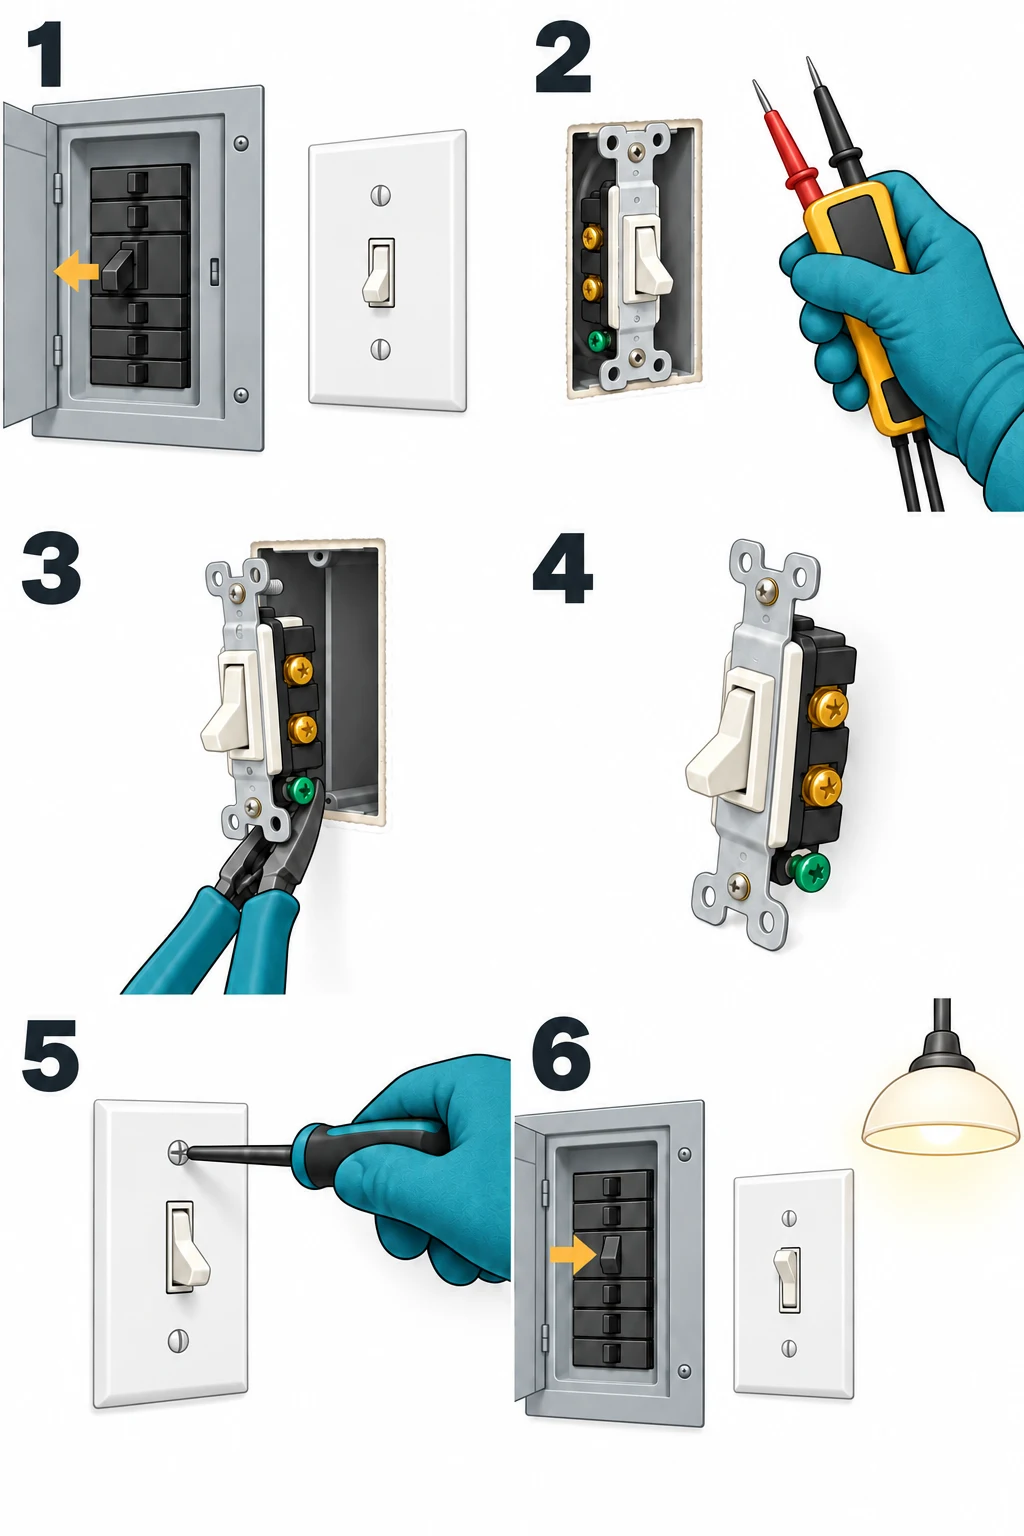
Confirm the correct replacement, isolate and verify the circuit, document the existing wiring, reconnect only identified conductors according to the device instructions, and refit the cover before restoring power.
In “How to replace a single-pole light switch”
No. Isolate the supplying circuit and verify absence of voltage with suitable equipment.
In “How to replace a single-pole light switch”
No. Colors alone do not establish a conductor’s function, particularly in older or modified wiring.
In “How to hang a picture: studs, wall anchors, and a level frame”
Record each ring’s position from the top and side of the frame. Transfer the horizontal spacing to tape on a level, then place it relative to your wall center mark. Set each supporting point at its measured height. Account for any distance between the hook’s seat and its mounting hole.
In “How to hang a picture: studs, wall anchors, and a level frame”
The frame top, hanger seat, and fastener hole are different positions. You may have measured slack wire or placed the nail at the frame-top mark. Take the frame down and remeasure using the wire’s supported shape or the actual D-ring contact point before changing the wall fixing.
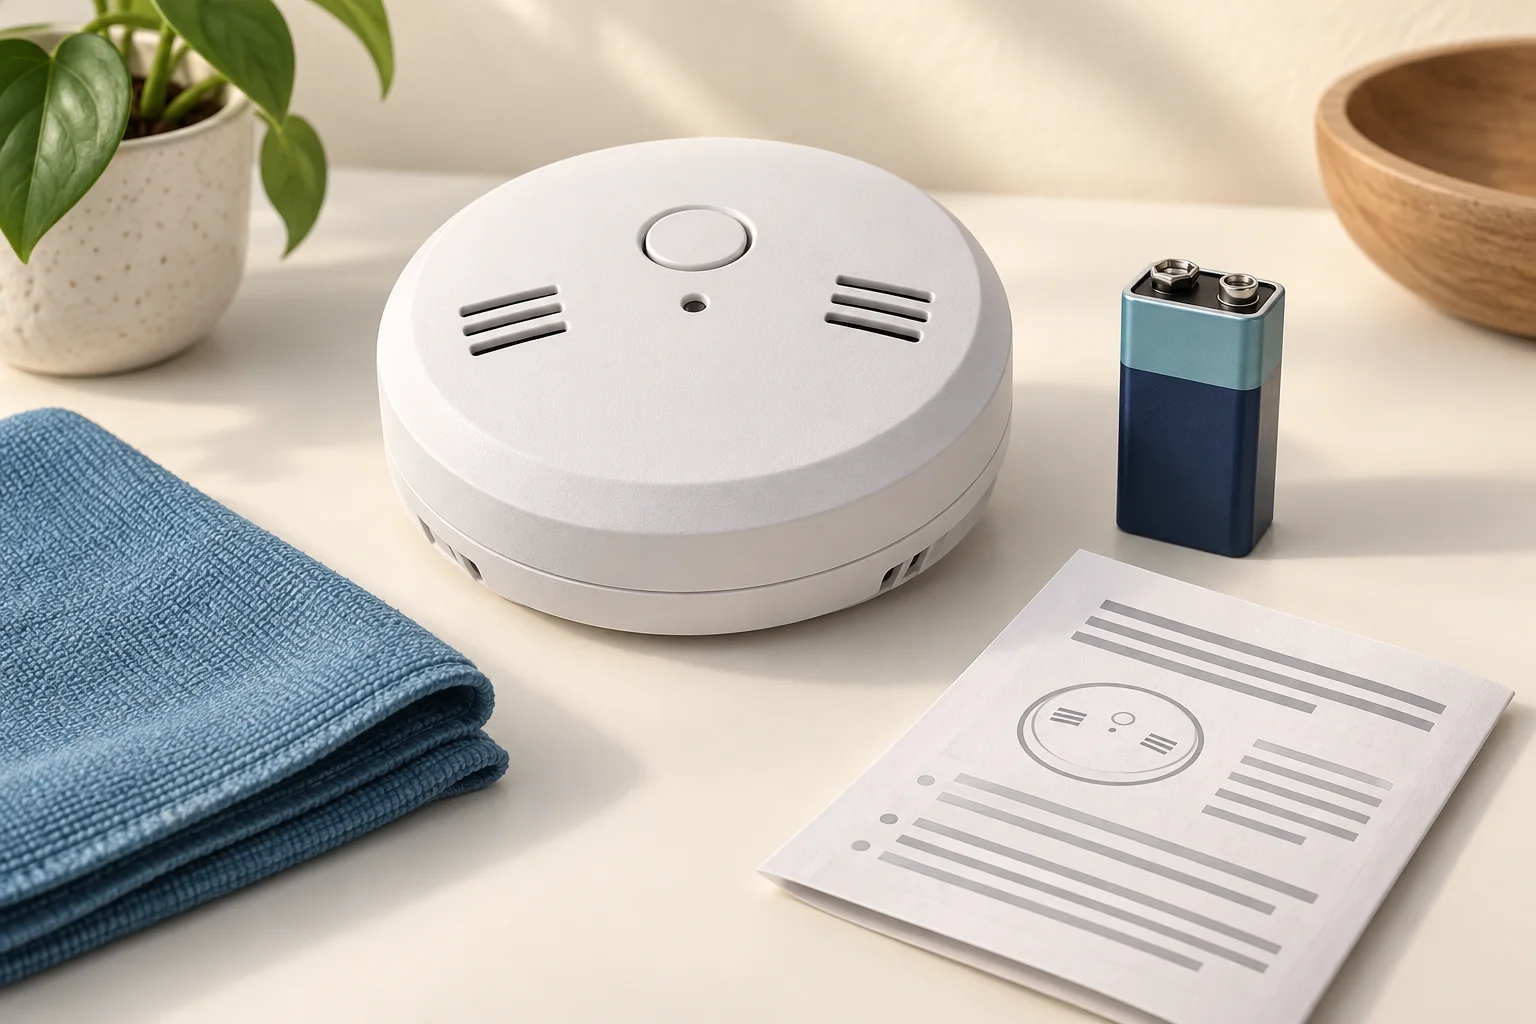
Check the alarm manual, open its battery compartment, fit the specified replacement in the marked direction, close and reinstall the alarm, then test it.
In “How to change a smoke alarm battery”
Recheck the specified battery, its direction and whether it is fully seated. A battery-reminder feature may deliberately block the door. Follow the model’s instructions; do not force the latch or tape it closed.
In “How to change a smoke alarm battery”
Confirm the battery type, connection, door closure and alarm age. Read the model’s chirp-code and reset instructions; reset procedures differ. An end-of-life or malfunction signal needs the specified service or alarm replacement, not repeated battery swaps.
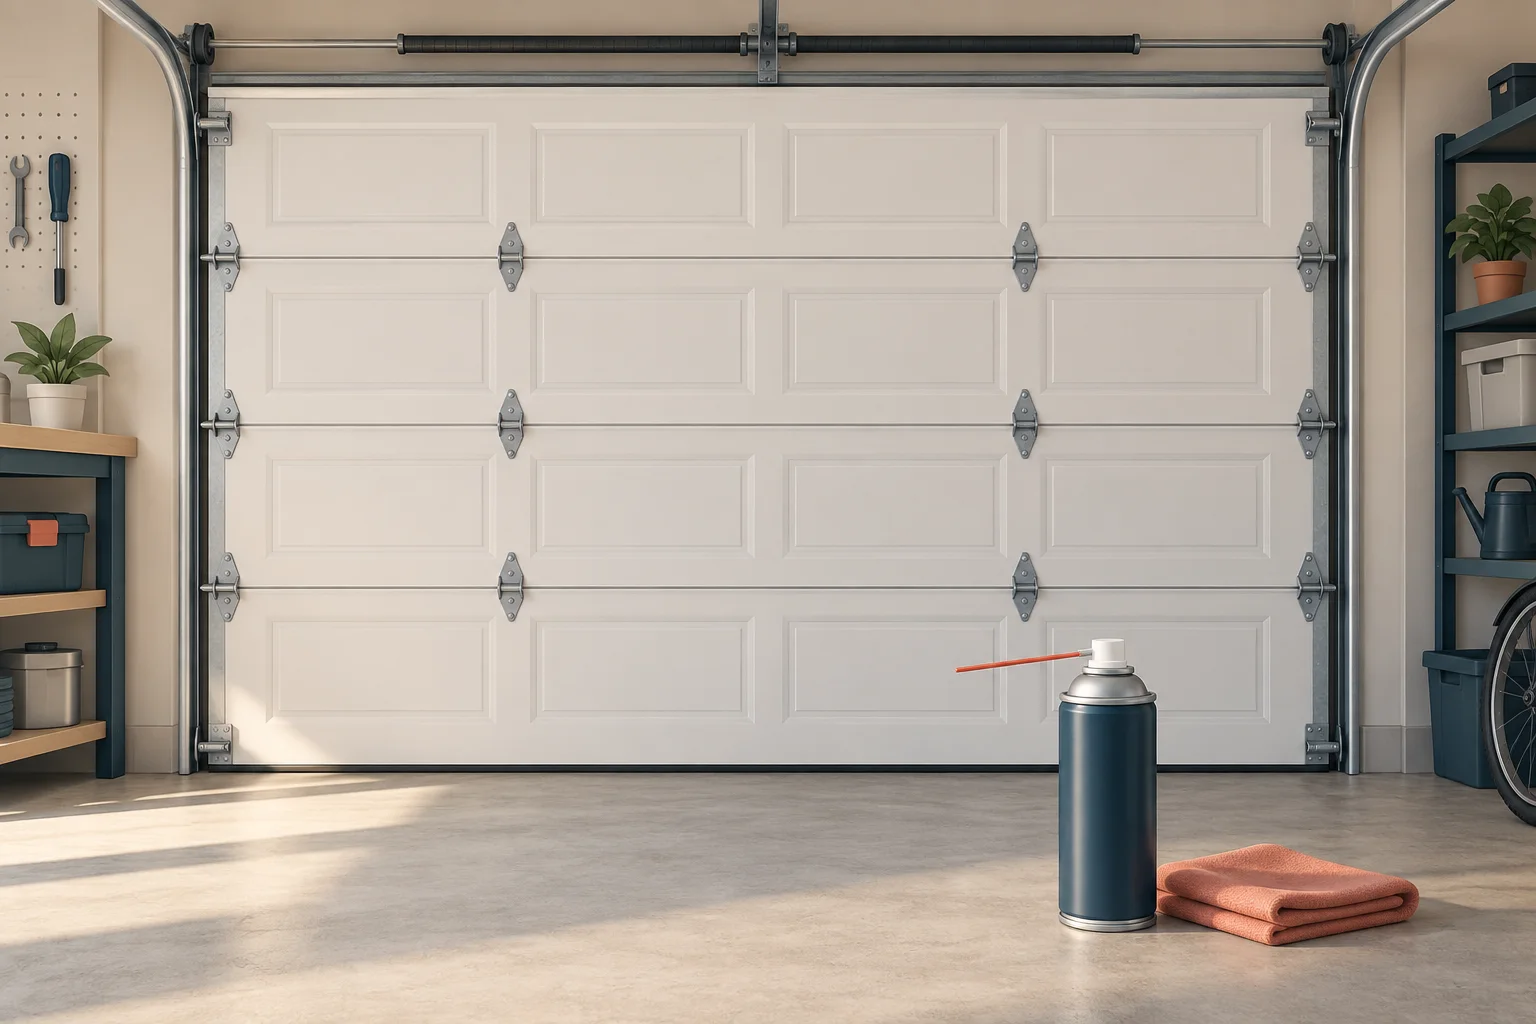
Inspect the closed door, prevent powered movement, clean the tracks, and apply a small amount of approved lubricant only at the manufacturer’s specified moving joints. Clear the area and test afterward.
In “How to lubricate a garage door”
No. Keep the tracks clean; lubricate only the joints and bearings specified by the door manufacturer. Greasing the running channel is not a substitute for correcting a damaged or misaligned track.
In “How to lubricate a garage door”
Check its design first. A nylon wheel is not itself a lubrication point, and a sealed bearing may not need service. Follow the roller maker’s directions for any accessible bearing; do not remove a tensioned bracket to reach it.
Identify the domestic water shutoff. Close a lever ball valve a quarter turn to cross the pipe, or turn a wheel valve gently clockwise. Check a faucet to confirm the supply stops.
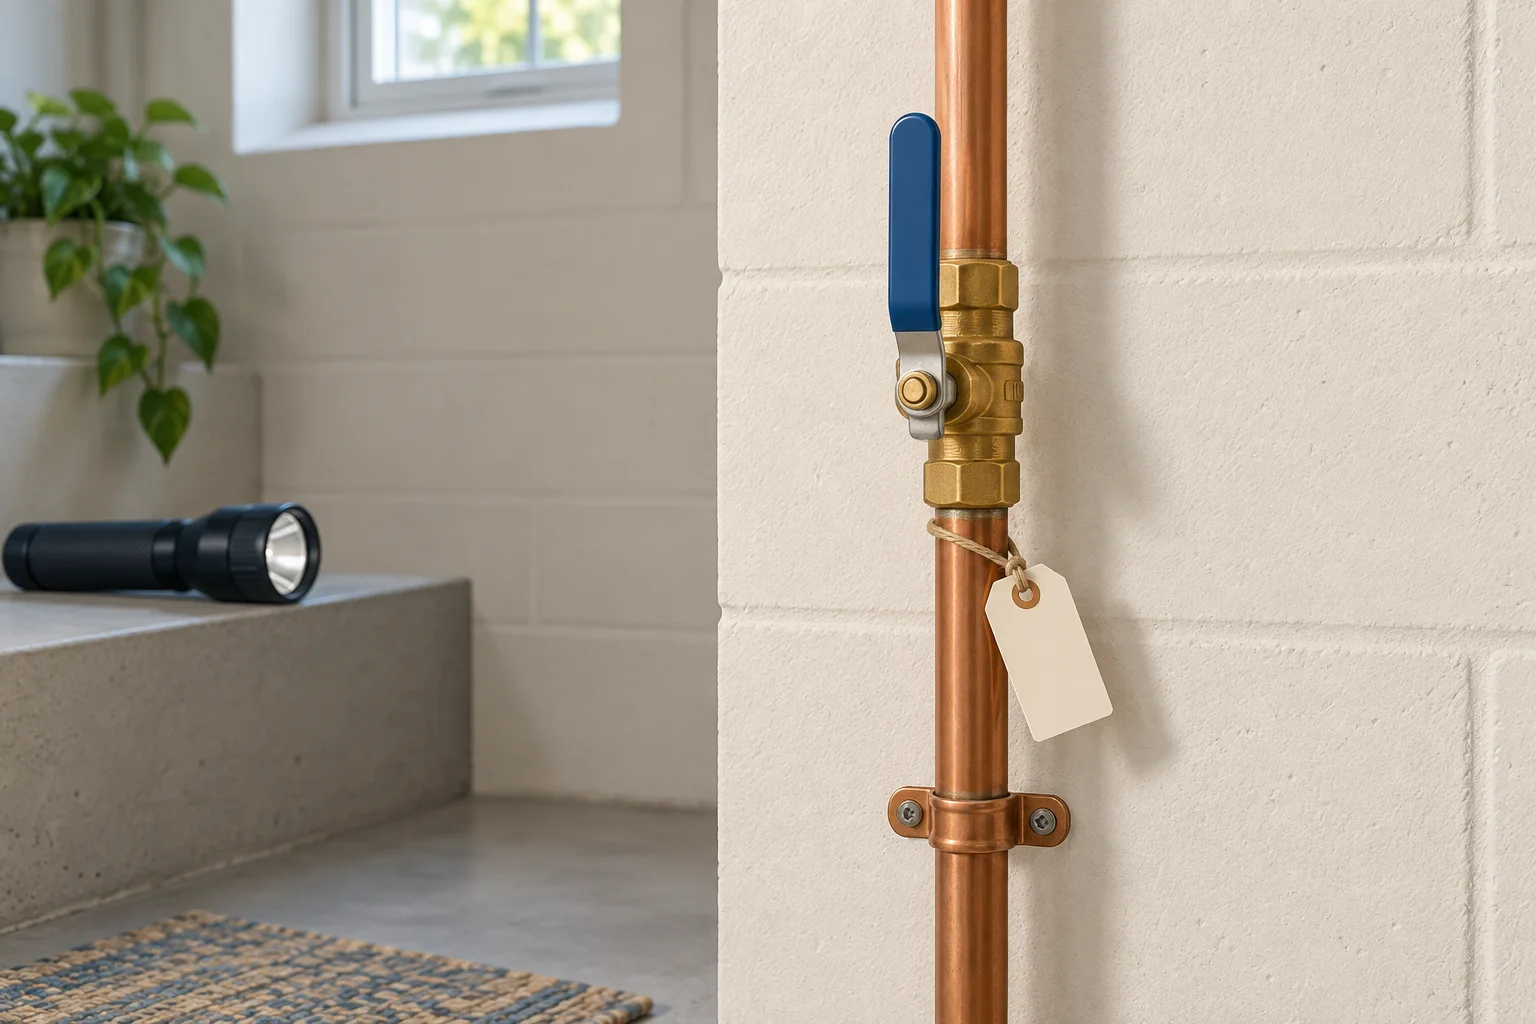
In “How to shut off the water main inside your home”
For a standard lever-operated ball valve, parallel normally means open and perpendicular means closed. Check its markings and identify the valve first; this visual rule does not identify which system the pipe serves.
In “How to shut off the water main inside your home”
The plumbing still contains water and pressure. Brief residual flow can be normal, while steady continuing flow needs investigation. Do not disconnect piping until isolation is confirmed.
Choose a compatible faucet, shut off and verify both supplies, disconnect and remove the old unit, mount the replacement, reconnect as instructed, then flush and check for leaks.
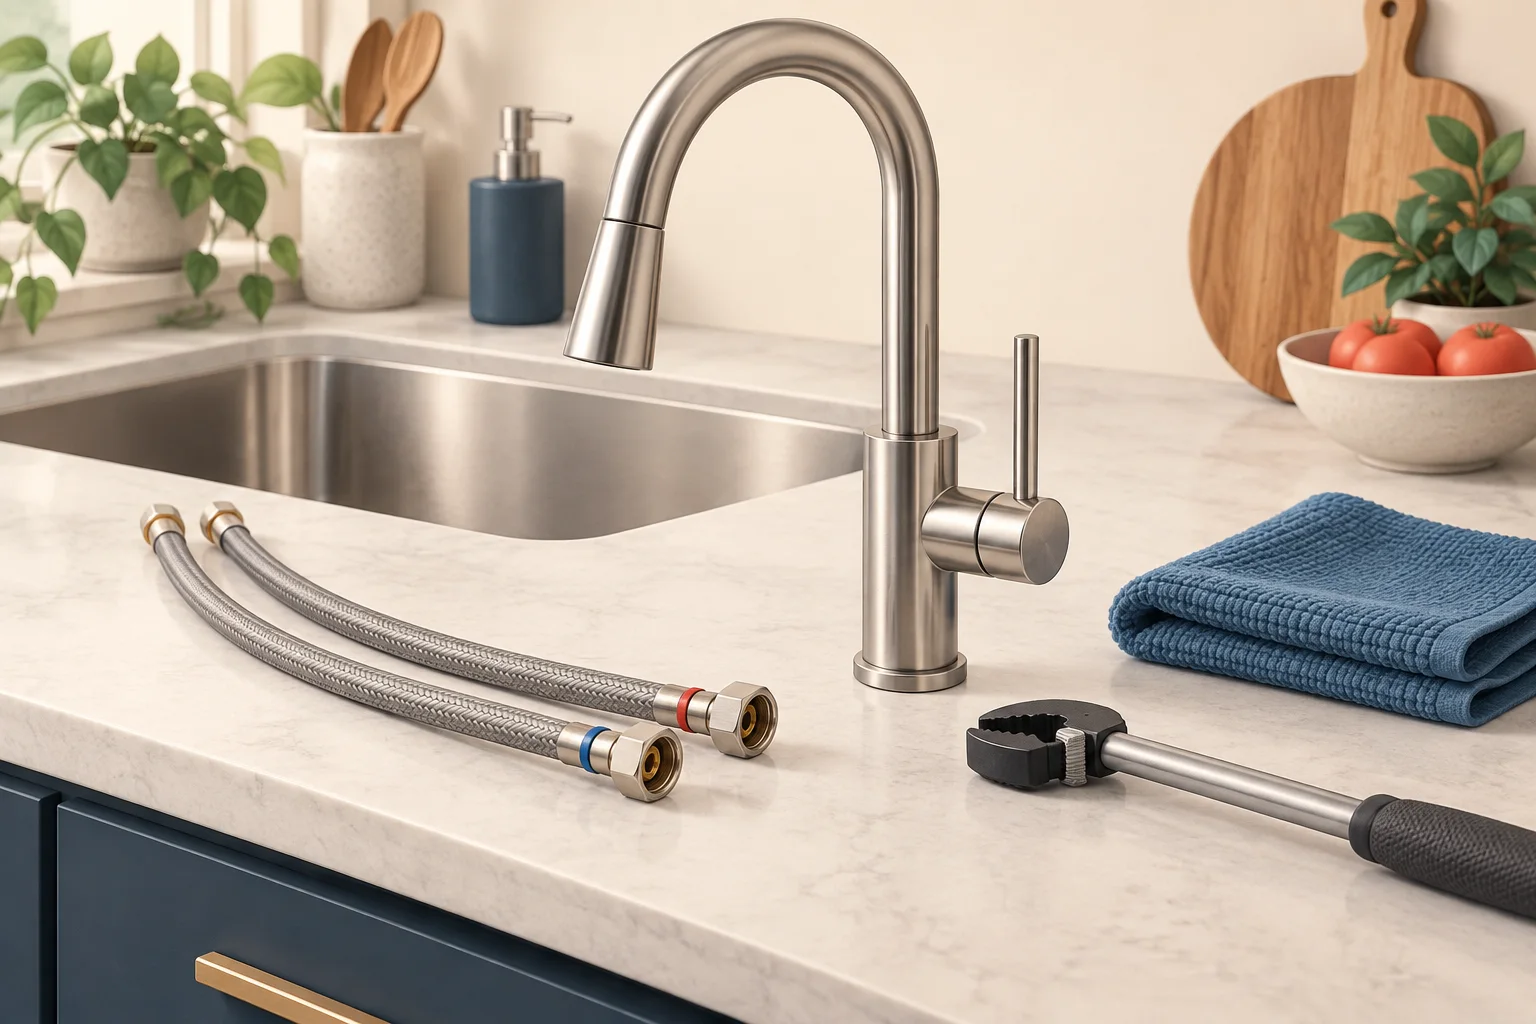
In “How to replace a kitchen faucet”
No. Compression fittings do not need PTFE tape, and many hoses seal with an internal washer. Use sealant only where the fitting’s instructions require it. Threaded appearance alone does not tell you how a joint seals.
In “How to replace a kitchen faucet”
Check that both supplies are open, the hoses are not kinked and the manufacturer’s flush procedure was completed. Installation debris can restrict the aerator or spray head. Isolate the supplies before any disassembly that the manual requires.
In “How to replace a toilet flapper and check for a silent leak”
No. Confirm the listed model, valve size and mounting arrangement. A canister seal is also a different part from a hinged flapper.
In “How to replace a toilet flapper and check for a silent leak”
Yes. It can hold the flapper just off its seat. Follow the specified slack and check that the handle returns; excessive dangling chain can also interfere with closing.
In “How to replace a toilet flapper and check for a silent leak”
Recheck compatibility, free movement, chain routing and tank water level. A damaged flush-valve seat or a different seal can still leak. A new flapper alone cannot correct every running-toilet fault.
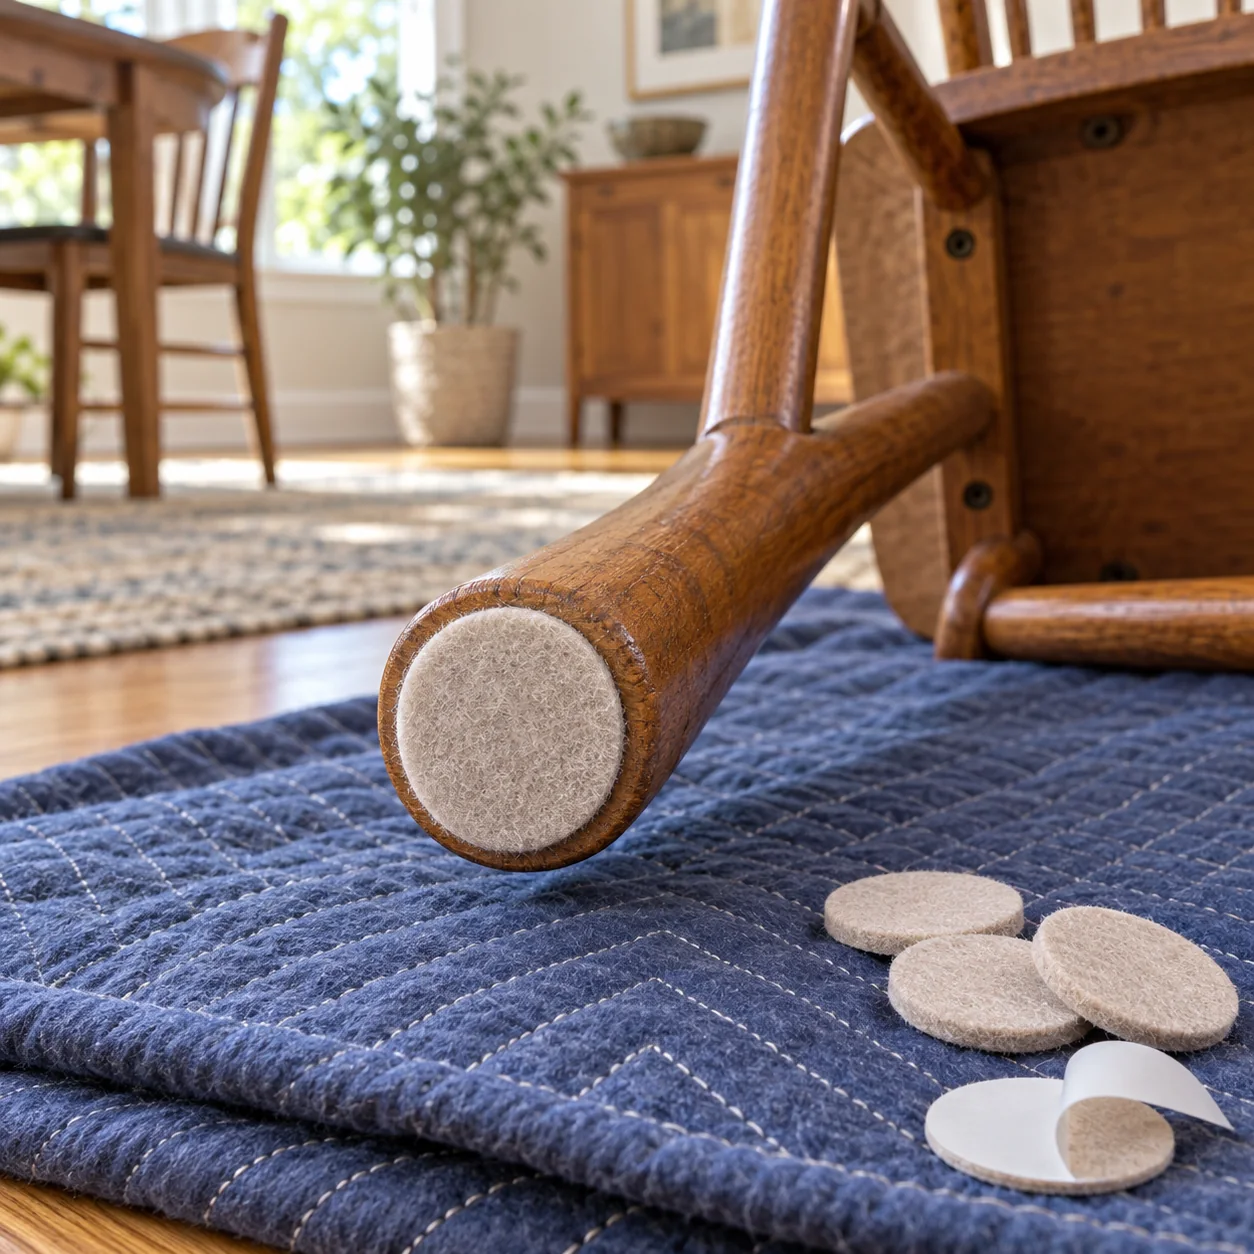
Inspect the feet, remove the old pads, clean and dry the contact areas, fit new felt, then check every pad and the floor beneath it.
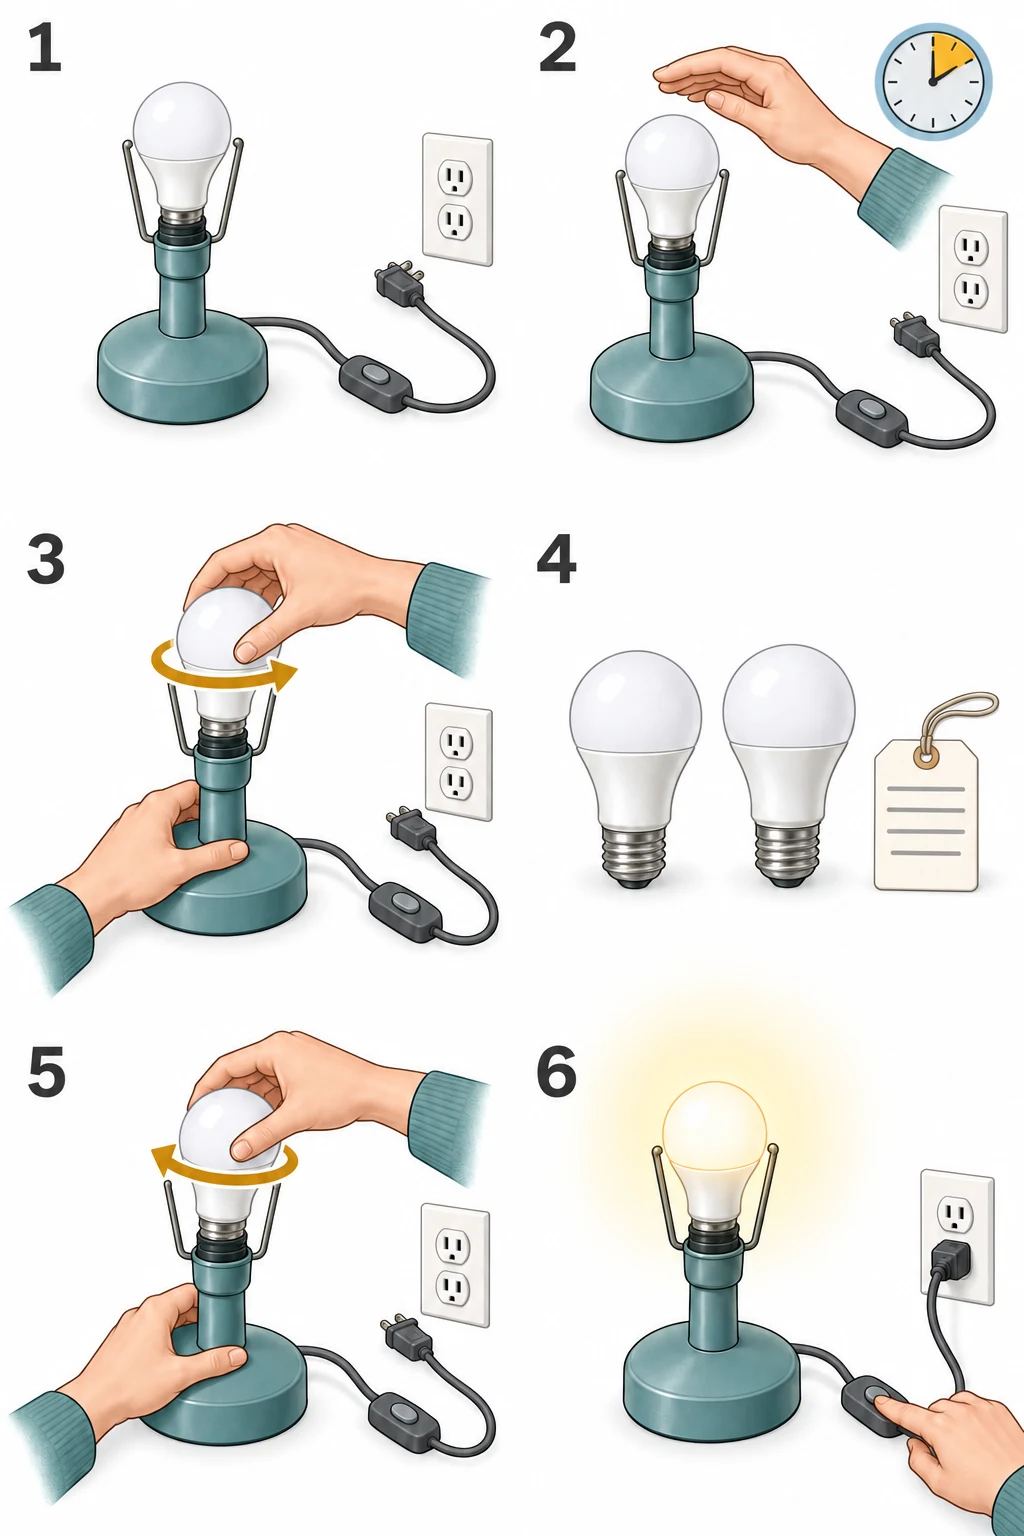 How to change a light bulb in a table lamp5–10 minutes, plus cooling
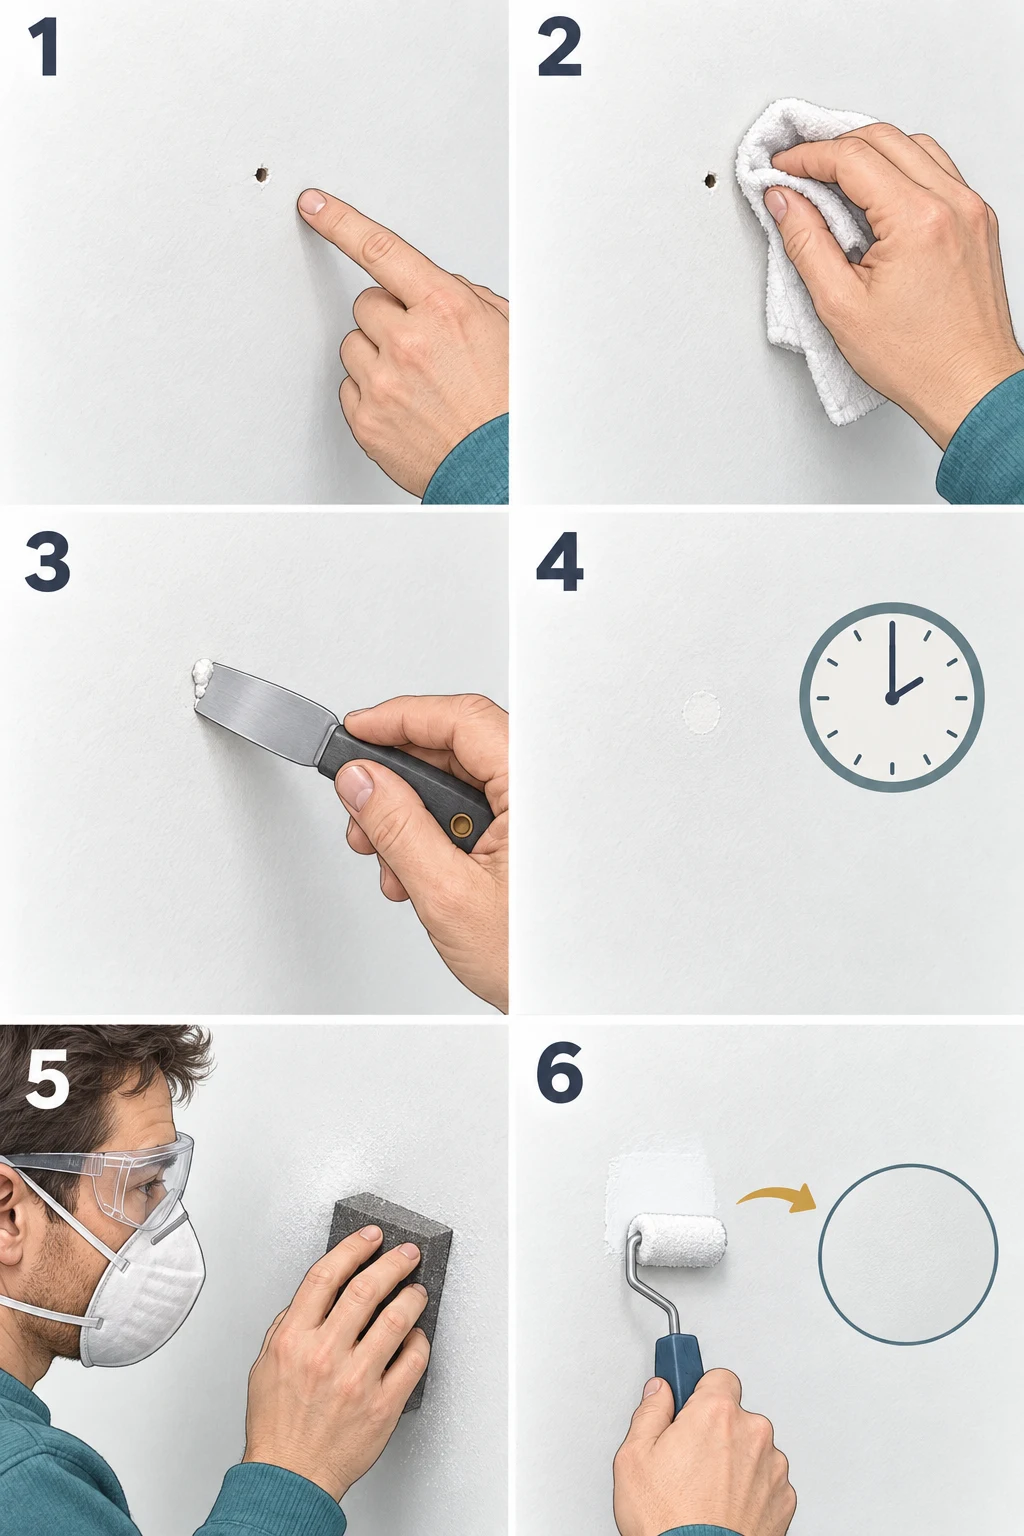 How to patch small holes in drywall20–30 minutes of work, plus drying
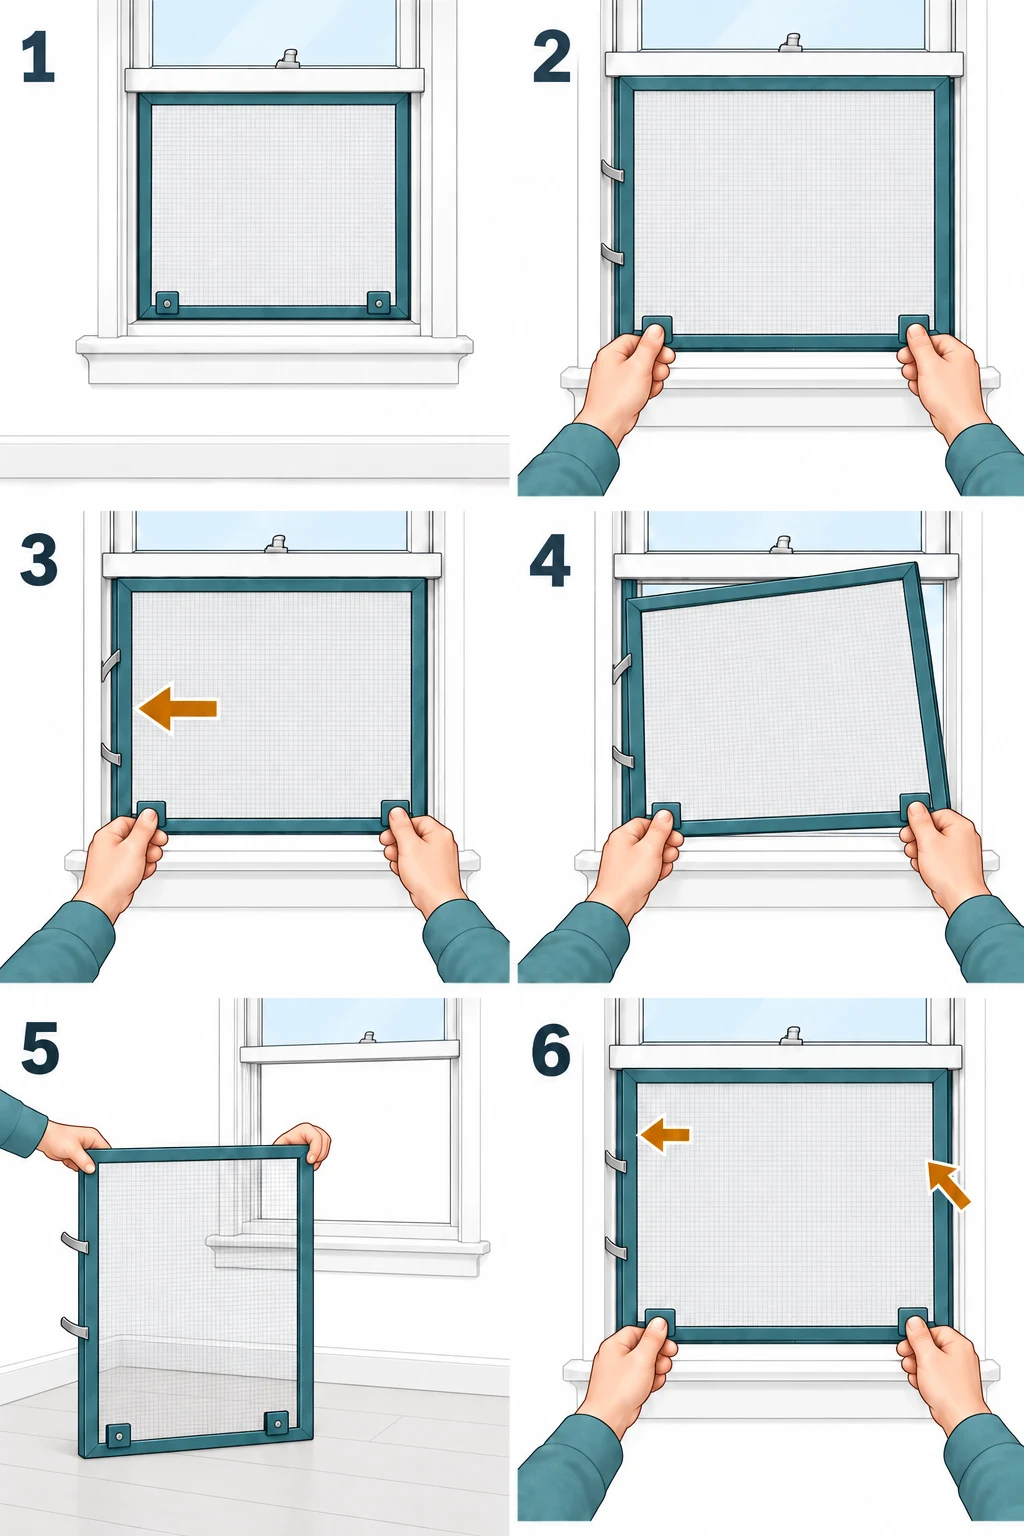 How to remove a spring-loaded window screen10–15 minutes
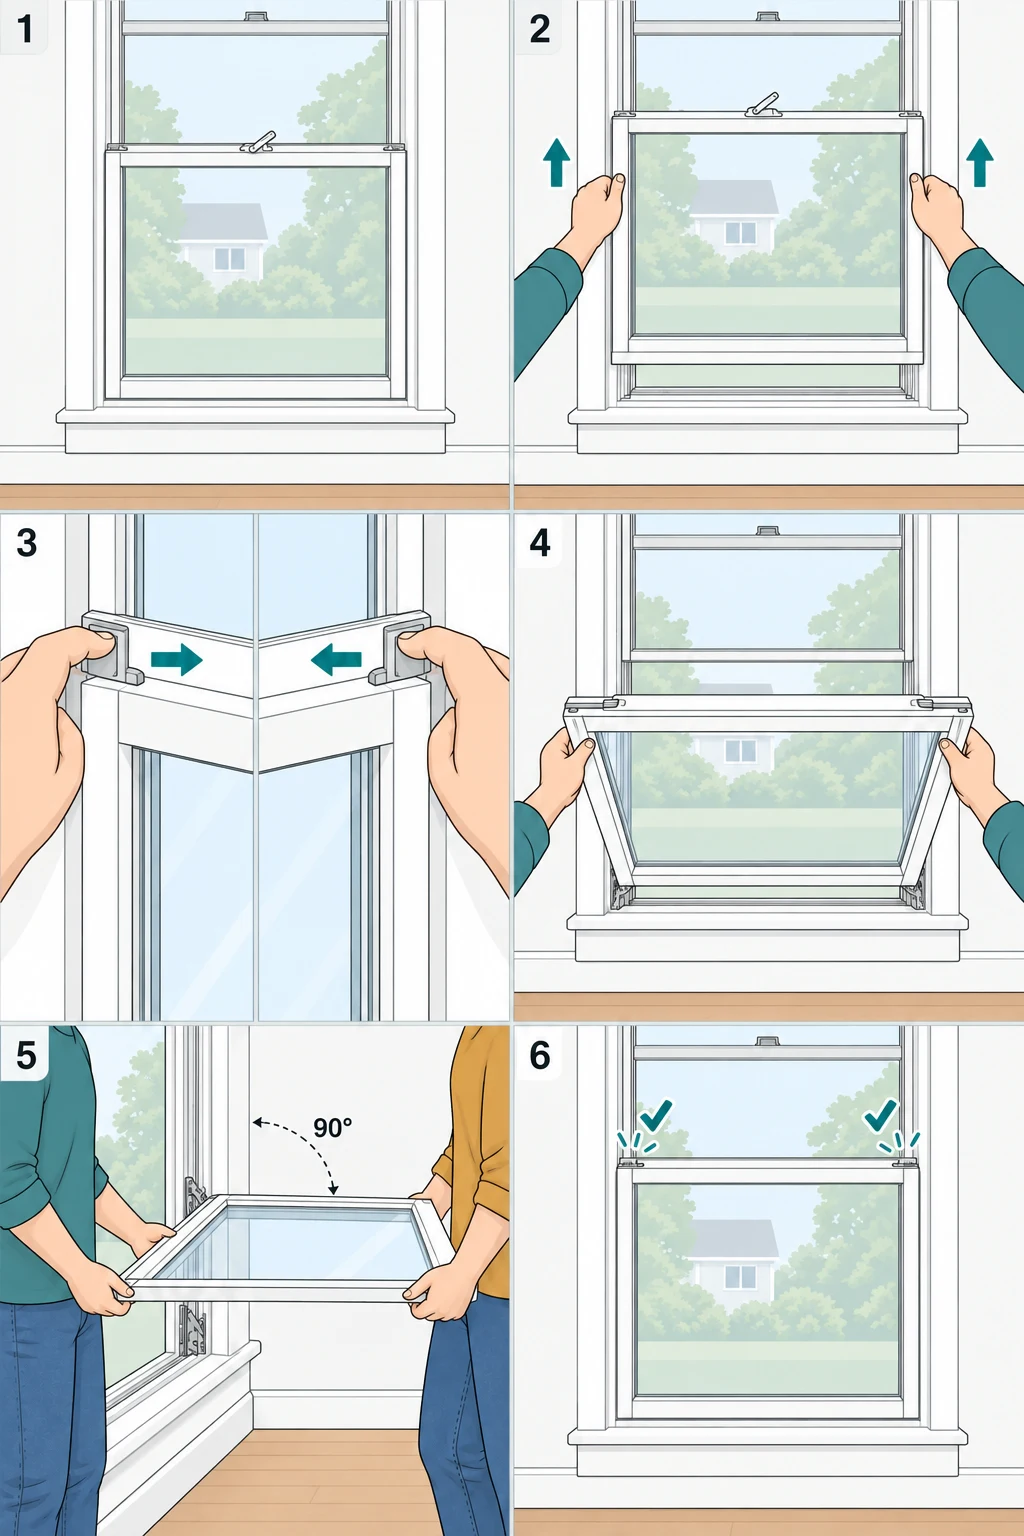 How to tilt a window sash for cleaning15–25 minutesHow to use a multimeter: test an AA batteryAbout 10 minutesHow to replace a single-pole light switch30–60 minutes for a competent installer
Source checks for these answers: September 21, 2026 – September 23, 2026. Product instructions and local requirements can vary.